

Create many mailboxes or forwarders in one go: put them in a CSV or Excel file and upload it with Address Importer in cPanel.
Prepare the file
Address Importer reads .csv files (plain text, one row per line) and .xls Excel files. Each row is one email account or one forwarder.
| Import | Columns |
|---|---|
| Email accounts | Email address (required). Optional: password, quota (mailbox size in MB) and domain. |
| Forwarders | Source address and target address (both required). |
A file for email accounts can look like this (the first row holds the column names):
Email,Password,Quota
sales,Use-A-Long-Password-1!,1024
support,Use-A-Long-Password-2!,1024
And a file for forwarders:
Source,Target
[email protected],[email protected]
[email protected],[email protected]- Give every mailbox its own strong password. cPanel only creates accounts whose password is strong enough (cPanel's password strength rating, the same check as in Create an email account).
- The quota is in MB, for example
1024for 1 GB. - Your plan's limit on email accounts still applies. Check Available on the Email Accounts page first.
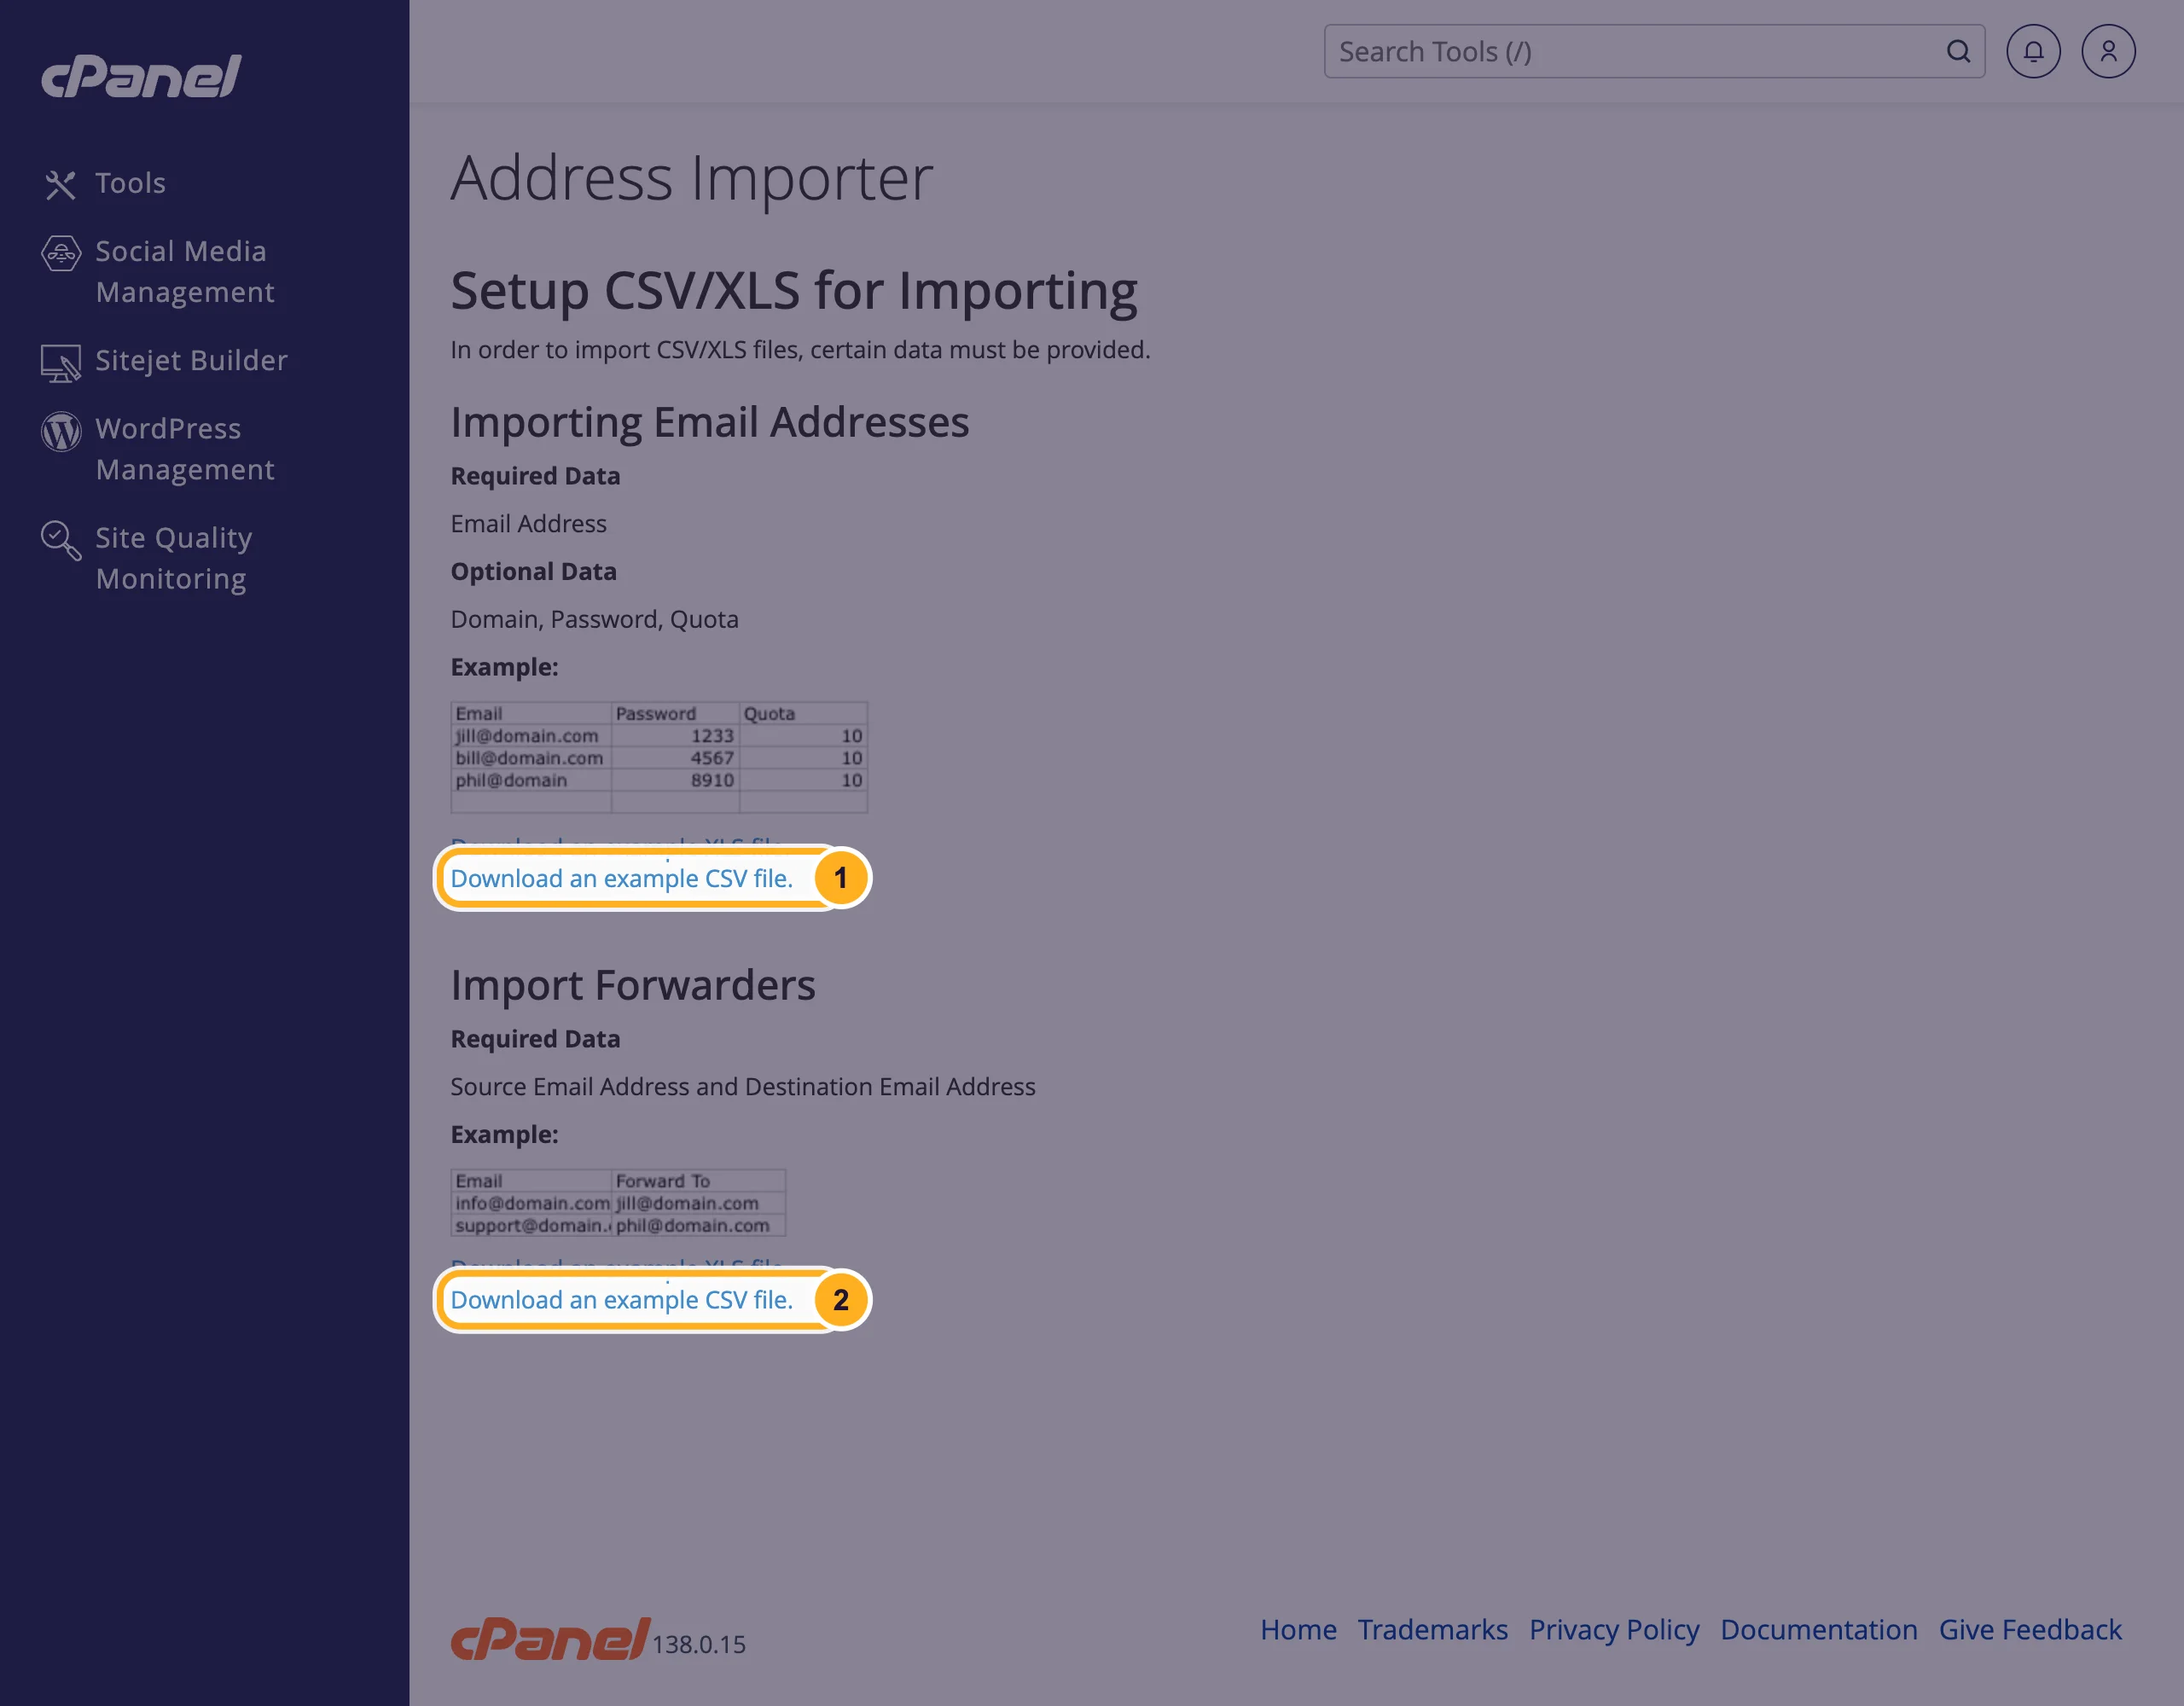
The importer has an example page with ready-made files: on the Address Importer page, click example page and download Download an example CSV file. for email accounts (1) or for forwarders (2).
Upload and import
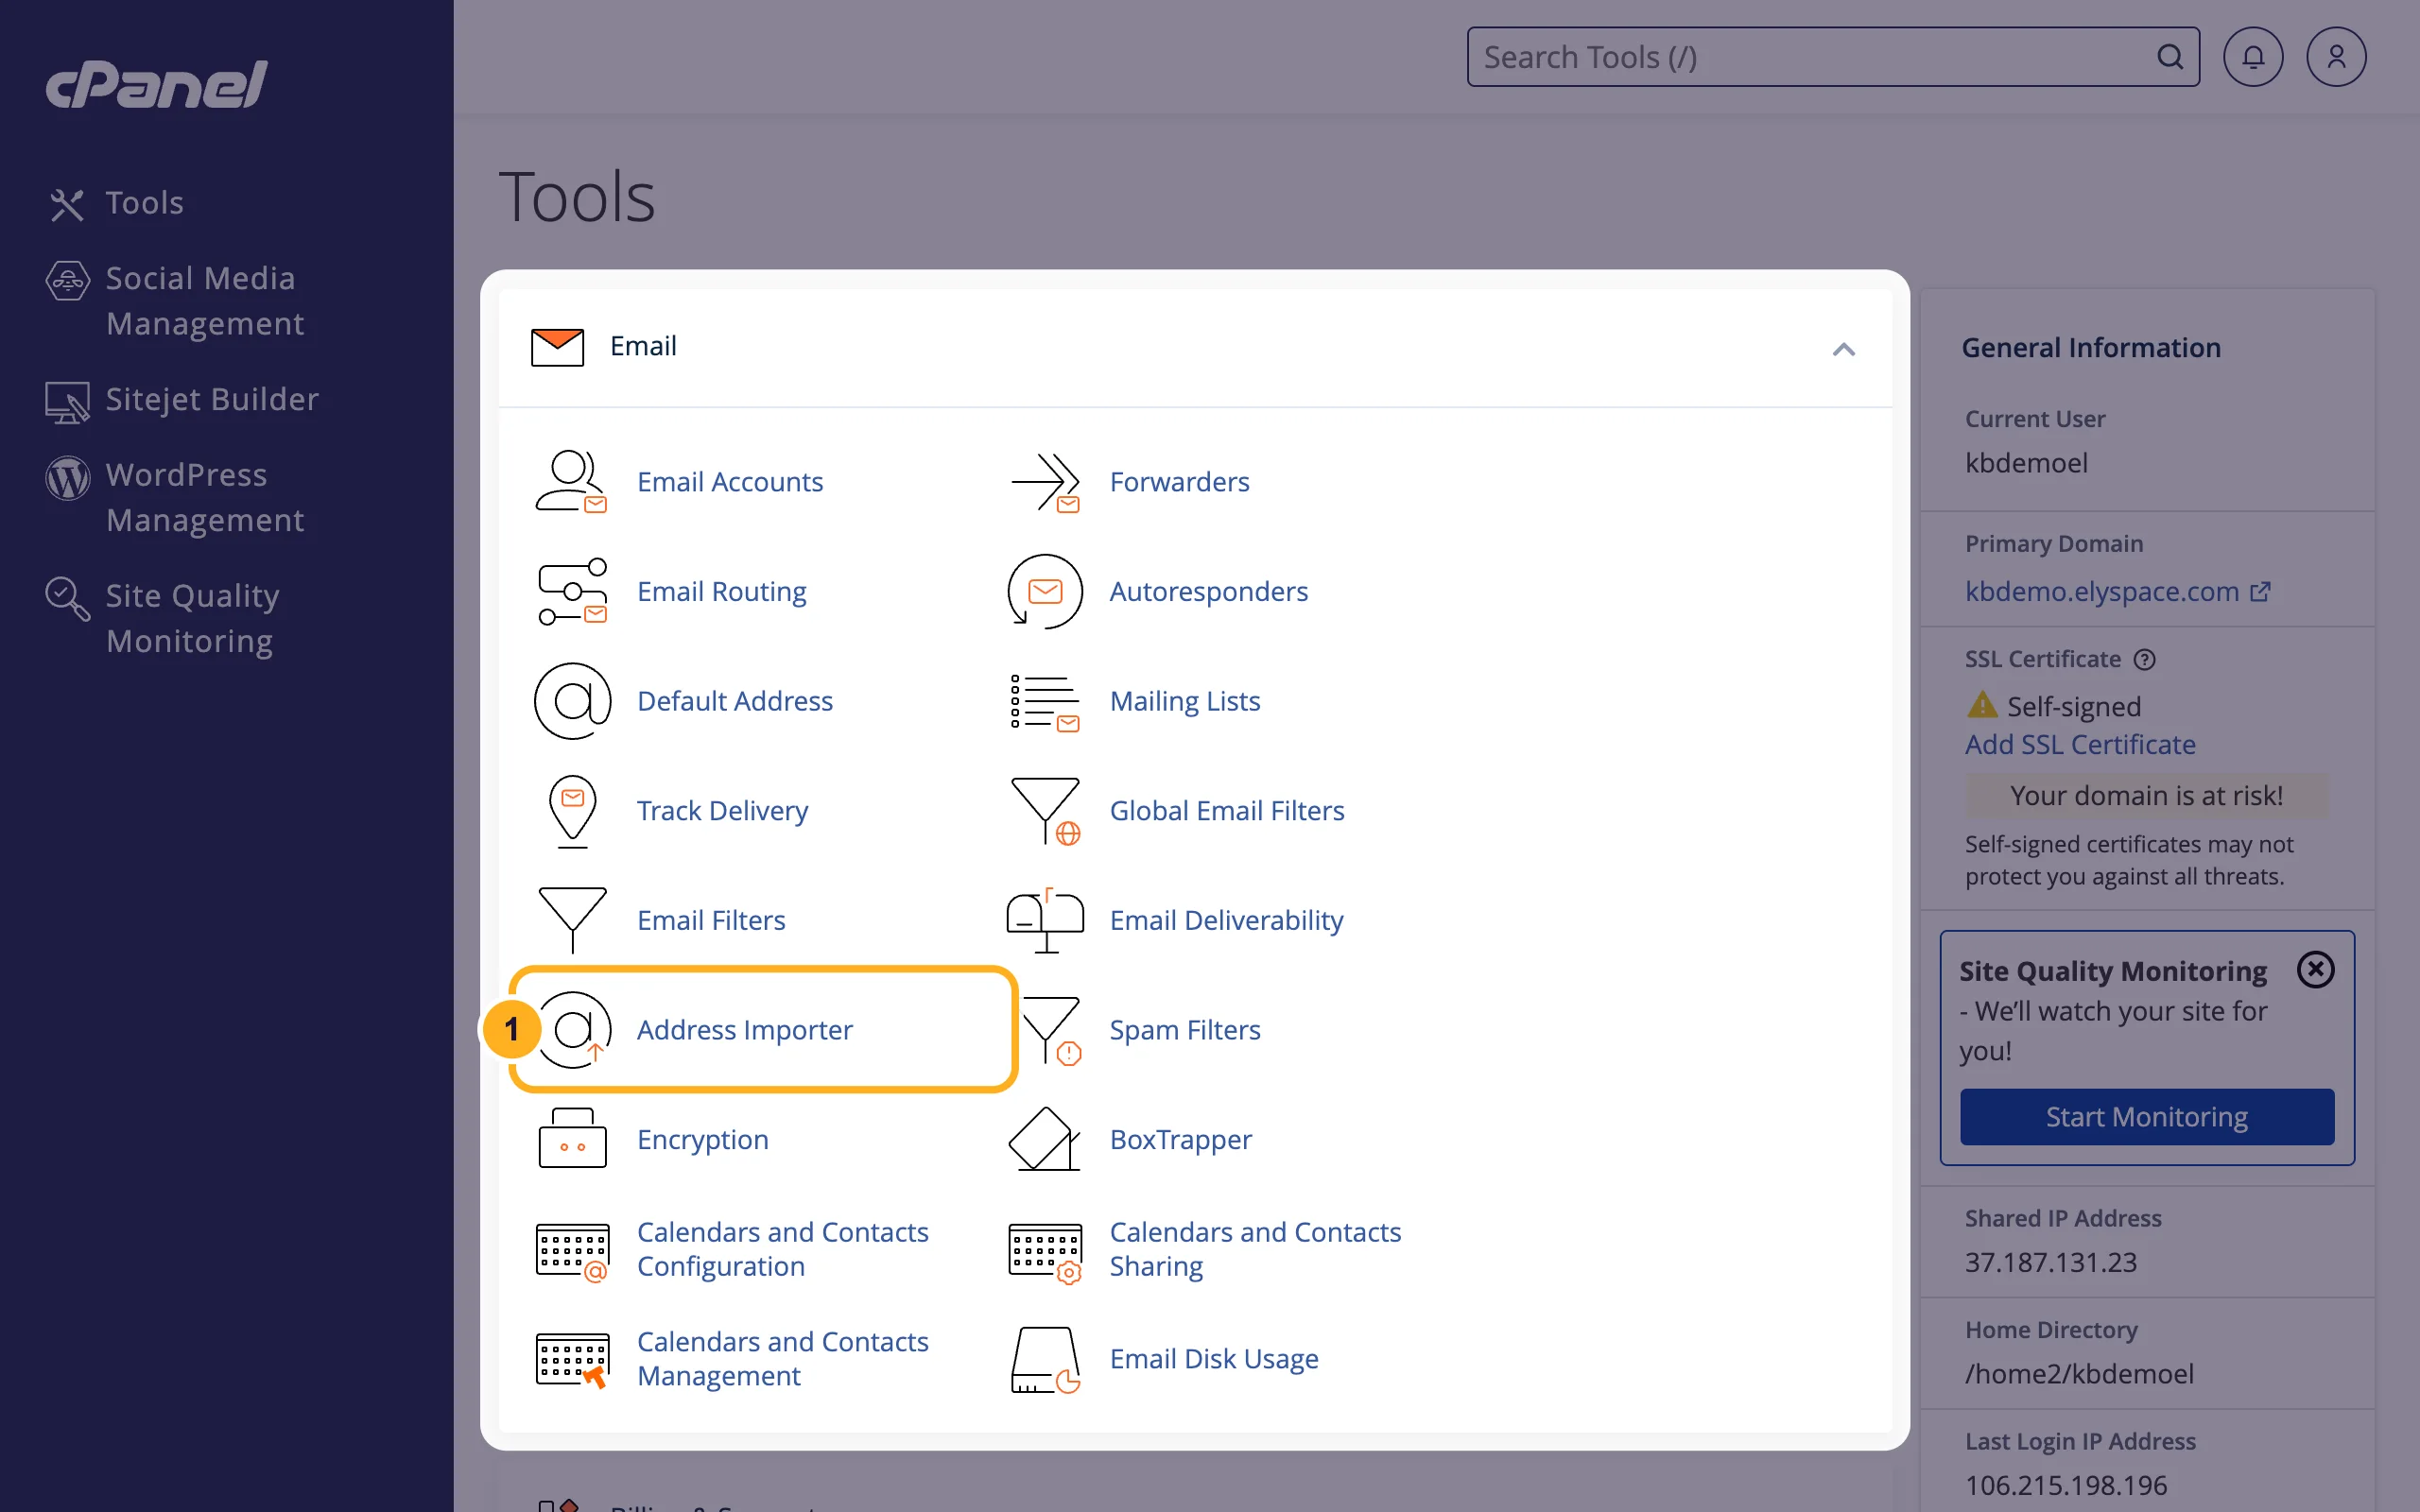
Log in to cPanel (see Log in to cPanel from the client area). In the Email section, click Address Importer.
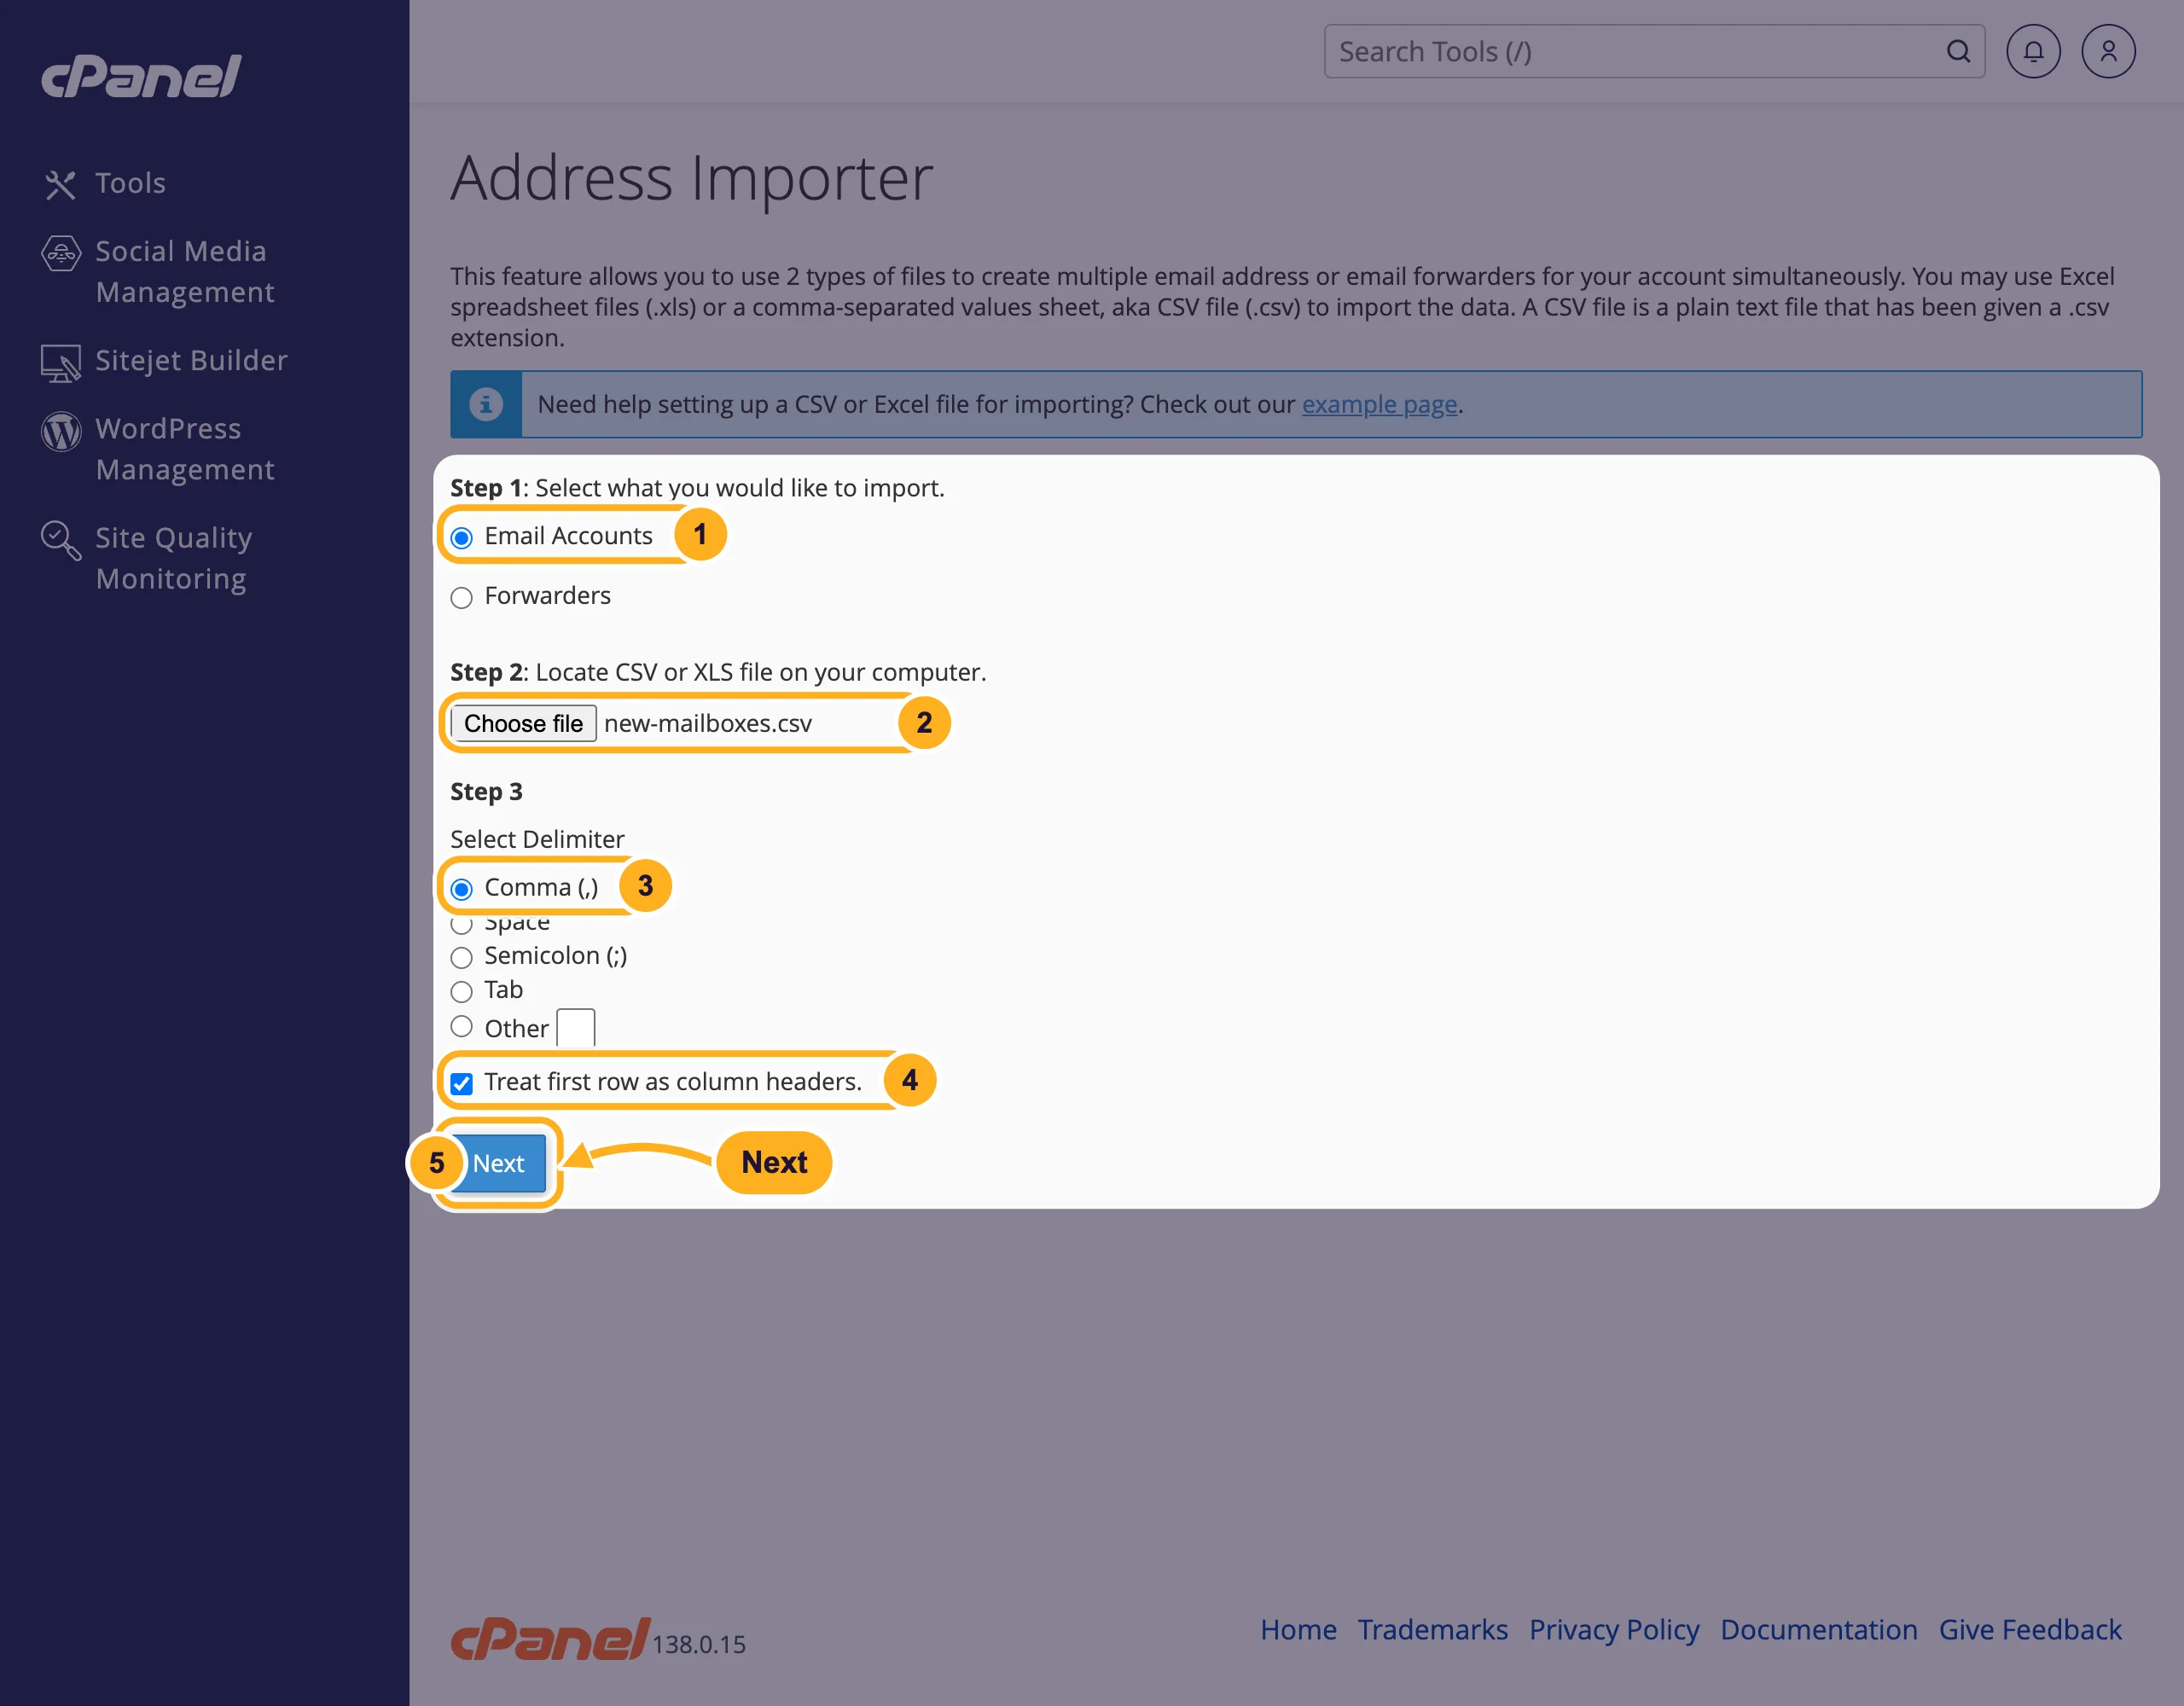
Fill in the form:
- Step 1: choose Email Accounts or Forwarders.
- Step 2: click Choose file and select your file.
- Step 3: select the character that separates the columns, for a normal CSV file Comma (,).
- Tick Treat first row as column headers. if your first row holds column names.
- Click Next.
cPanel shows your rows in a table. Above each column, choose what it contains (Email, Password, Domain, Quota (MB), or for forwarders Source and Target). Choose Ignore for columns you don't need.
Below the table, select the Domain for the new addresses. Rows that only contain a name like
salesget this domain. Click Next.Check the overview and click Finish. cPanel creates the accounts or forwarders from the file. Import More takes you back to the first screen for the next file.
Afterwards, check the new addresses on the Email Accounts or Forwarders page. Send each person their password over a safe channel, or let them set their own (see Change an email account password).
Common problems
All data ends up in one column
The separator doesn't match the file. Spreadsheets saved with regional settings often use a semicolon: go back and choose Semicolon (;), or Other and type the character.
Some accounts were not created
Usually the password was too weak, the address already exists, or the plan's limit was reached. Fix those rows and import them again, or create them by hand.
The column names were imported as an account
Tick Treat first row as column headers. when the first row holds names, and delete the wrong account or forwarder.
Related articles
- Create an email account
- Forward email to another address
- Change an email account password
- Fix "the email account already exists"
Still stuck? Open a support ticket and we'll help.
