Once you've completed the main site settings, you're ready to begin on the content pages. WordPress comes with an editor similar to Microsoft Word allowing anyone to add or edit content in their browser without HTML know-how. When you create content using WordPress you have the option to choose between creating a post or a page; both have particular uses depending on what you want to do with your website.
Structure your WordPress website
Each site has different needs. Is it a blog for a retail location, or a service company? Is it intended as a professional website or will it serve as an ongoing publication? Think about the services you are offering and what will appear on your site.
A well-conceived layout, when combined with proper categorization, will help make it easier for users to navigate and find what they are looking for. Many people want a website with just a few pages and to do so, you will organize your content from a homepage with a menu linking to the remaining pages on your site.
How to create a WordPress menu
Custom menus are a list of links displayed to direct visitors to select pages on your site. Your website will have a primary navigation menu to switch between main pages. You may also wish to organize your footer pages and social links with similar navigation style menus. Once you've published a page or a post you can add it to an existing menu. To create a menu, follow these steps:
-
Click on Visit Site in your Admin toolbar to preview the front end of your site. If your theme suggests it, click Add a Menu in the upper left-hand corner or under Appearance in the dash, click the Menu option.
-
Give your menu a name and click Create Menu
-
Select the type of content to add to the page. Your menu may link to Pages, Posts, or specific Post categories. Check the items you wish to feature and click Add to Menu.
-
All checked items, Posts, Pages, or Post categories will now display below the Menu structure. From here you can reorder them as you'd like them to appear.
-
Menu Settings lets you choose which type of Menu you're creating. Check the Primary Menu theme to use this menu as your main page navigation or opt for the Secondary Menu theme for any other use.
-
To add your newly created menu to your site select the Save Menu option. This is also a good time to preview your website to check if you're happy with the results.
How to create and edit WordPress Pages
Use WordPress pages for static content or information, the kind which includes content that doesn't change frequently. These can include your About Us page or any product pages.
-
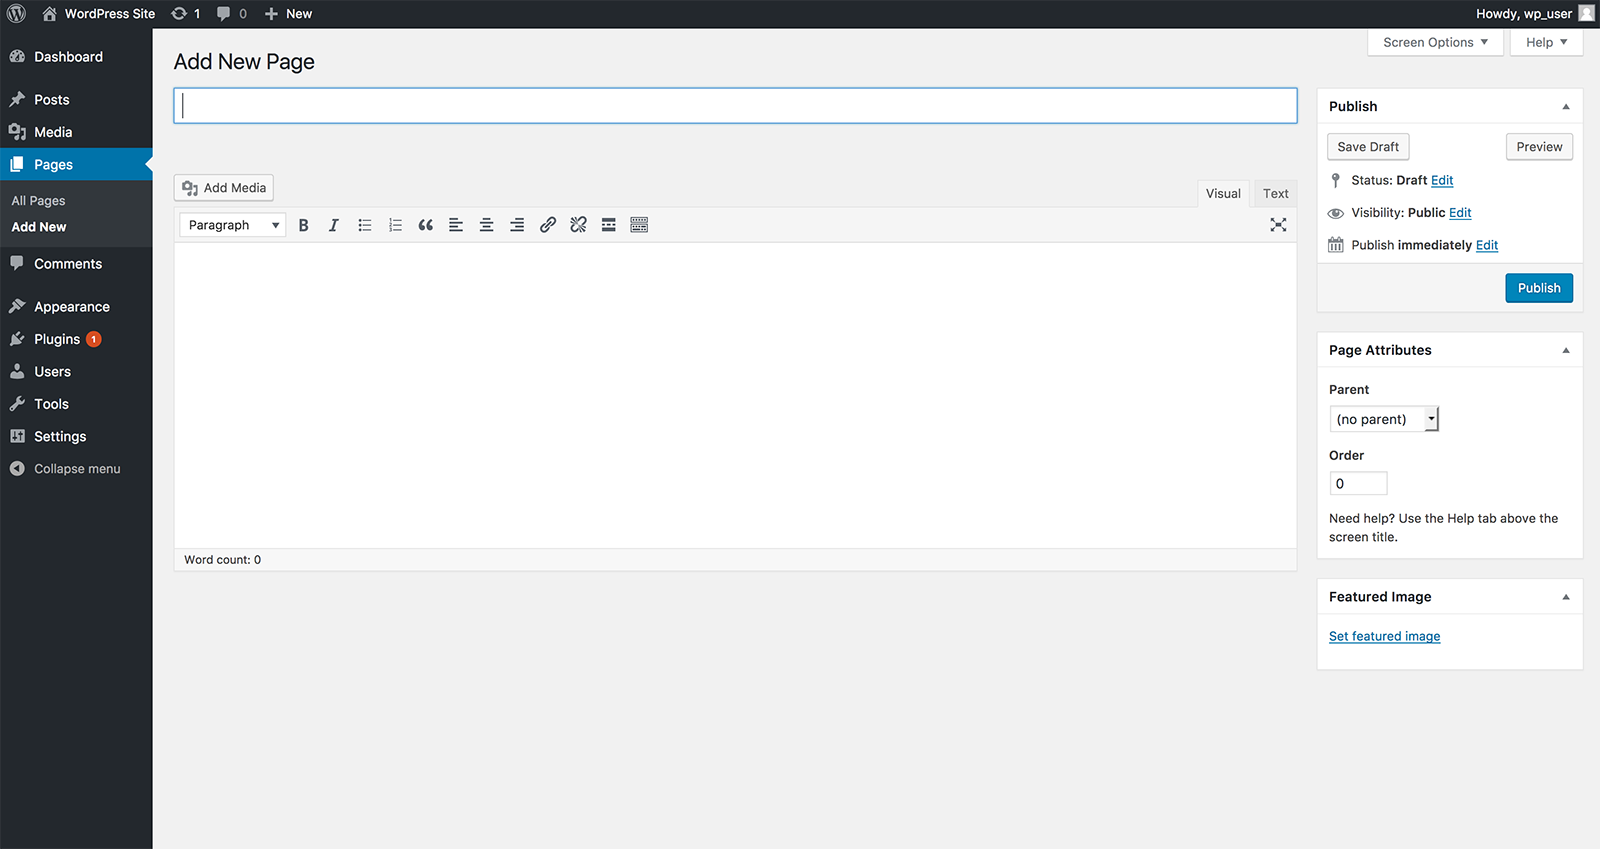
Locate the Pages menu available in the WordPress dashboard and select the Add new button.
-
Give your page a logical title for quick reference, name the About us page on your domain 'about' for example. The title you choose may double up as the URL slug, which is the exact address of a specific page. By setting up permalinks, the title 'about' creates the automatic URL slug http://yourdomain.com/about/.
-
To set up permalinks (optional step) head to the dash and follow Settings > Permalinks and select Post name as your default permalink structure.
-
Type your content in the content area.
-
Now that you've begun creating a page you have a few options. You can post immediately, save your name work as a draft and come back to it later or schedule the page for future publishing. You may want to preview your page one last time before clicking Publish. You've now added a new page to your WordPress site.
You may edit the contents of the published pages. To make any changes click on the page's title under Pages in your dash to re-open the corresponding page's editor. Once you're happy with any changes you've made to the original contents, hit the publish button to see them go live.


