

With reseller hosting you log in to WHM at your server's address on port 2087 and create a cPanel account for each client under Create a New Account.
What reseller hosting includes
ElySpace Reseller Hosting gives you cPanel and WHM. WHM is where you create and manage cPanel accounts; each client then logs in to their own cPanel. The store lists for each plan the storage, how many cPanel accounts you can create, free SSL and free website migrations. Compare the plans at my.elyspace.com/store/reseller-hosting.
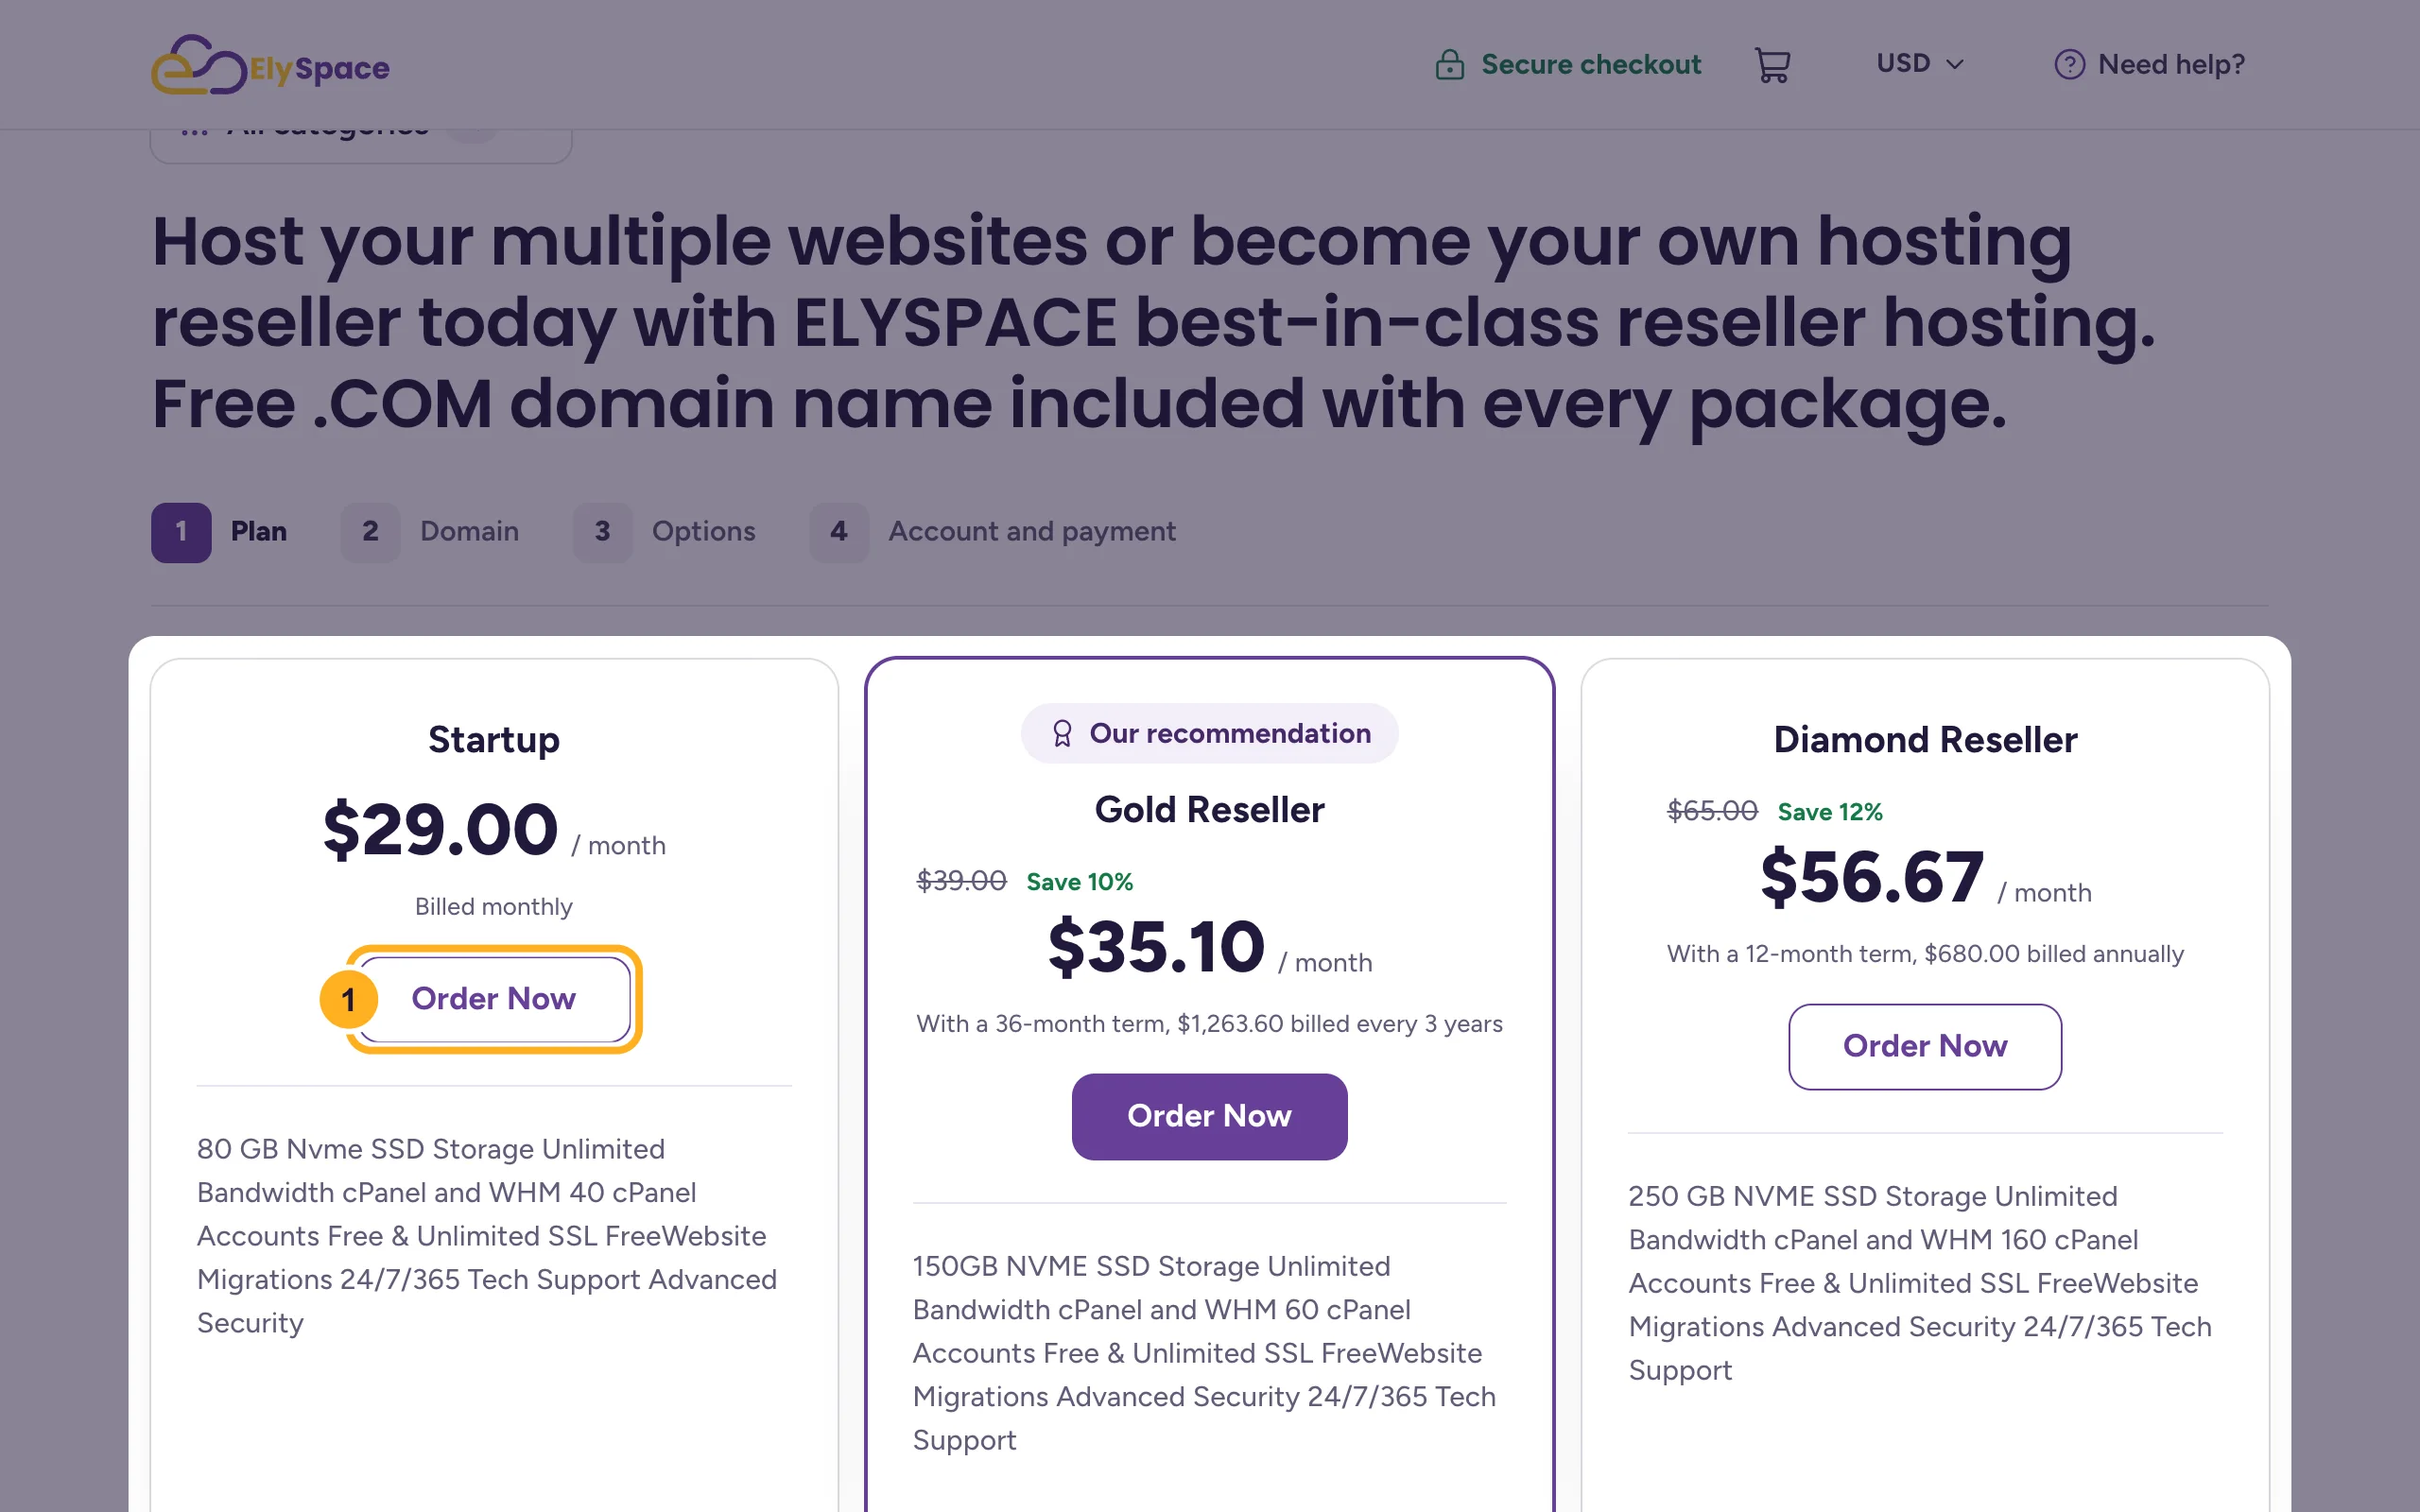
The order works like a hosting order: click Order Now, choose a domain, pick the billing cycle and check out. See Buy web hosting step by step.
Log in to WHM
Find your server name. Open your reseller service in the client area (Services > My Services) and look at the Hosting Information tab. See Find your server name, IP address and nameservers.
In your browser, open
https://your-server-name:2087, for examplehttps://server.example.com:2087. Port 2087 is WHM; port 2083 is cPanel.Log in with the username and password of your reseller account. They're the same as for the reseller account's own cPanel. If you've lost the password, see Change or reset your cPanel password.
WHM has a search box at the top and a menu on the left. Type part of a tool's name in the menu's search box to find it quickly.
Create a cPanel account for a client
In WHM, go to Account Functions > Create a New Account.
Under Domain Information, fill in:
- Domain: the client's domain, for example
client-example.com. - Username: the cPanel login name. WHM suggests one from the domain; you can change it.
- Password: use the Password Generator for a strong one, and type it again in Re-type Password.
- Email: the client's contact address for cPanel notices.
- Domain: the client's domain, for example
Under Package, select a package. A package sets the account's limits, such as disk space, email accounts and databases. To make your own packages, see Reseller hosting: create packages and brand your service.
Check the last sections. Under Mail Routing Settings, Automatically Detect Configuration fits most accounts. Under DNS Settings, Enable DKIM, Enable SPF and Enable DMARC add records that help the client's email reach the inbox.
Click Create. WHM shows a summary of the new account. Go to cPanel opens the account's cPanel.
Give your client the cPanel address (https://your-server-name:2083), the username and the password. Send the password by a different channel from the username, never both in one email.
Point the client's domain
The website shows once the client's domain points to the server. The Nameservers line under DNS Settings on the create page shows which nameservers the account uses. Enter them at the domain's registrar (see Change your domain's nameservers), or set the domain's A record to the server's IP address. The difference is explained in What DNS, nameservers and A records mean.
Common problems
WHM won't let you create another account
Each plan includes a set number of cPanel accounts. When you reach it, WHM stops creating accounts. Delete accounts you no longer need, or move to a bigger plan: Upgrade or downgrade your hosting plan.
A tool described here is missing in your WHM
WHM shows resellers only the tools their reseller account is allowed to use. Open a ticket in Cloud Servers - Reseller Hosting and tell us which tool you need.
The browser warns about the connection on port 2087
Use the server name from your service page, not your own domain or the IP address. The certificate on port 2087 is issued for the server name.
Related articles
- Shared, reseller, VPS or cloud: which do you need?
- Find your server name, IP address and nameservers
Still stuck? Open a support ticket and we'll help.
