How to Transfer a Domain to ElySpace: A Step-by-Step Guide
Transferring your domain to ElySpace is a simple process. This guide is designed to help you understand the steps and ensure a smooth experience while transferring your domain.
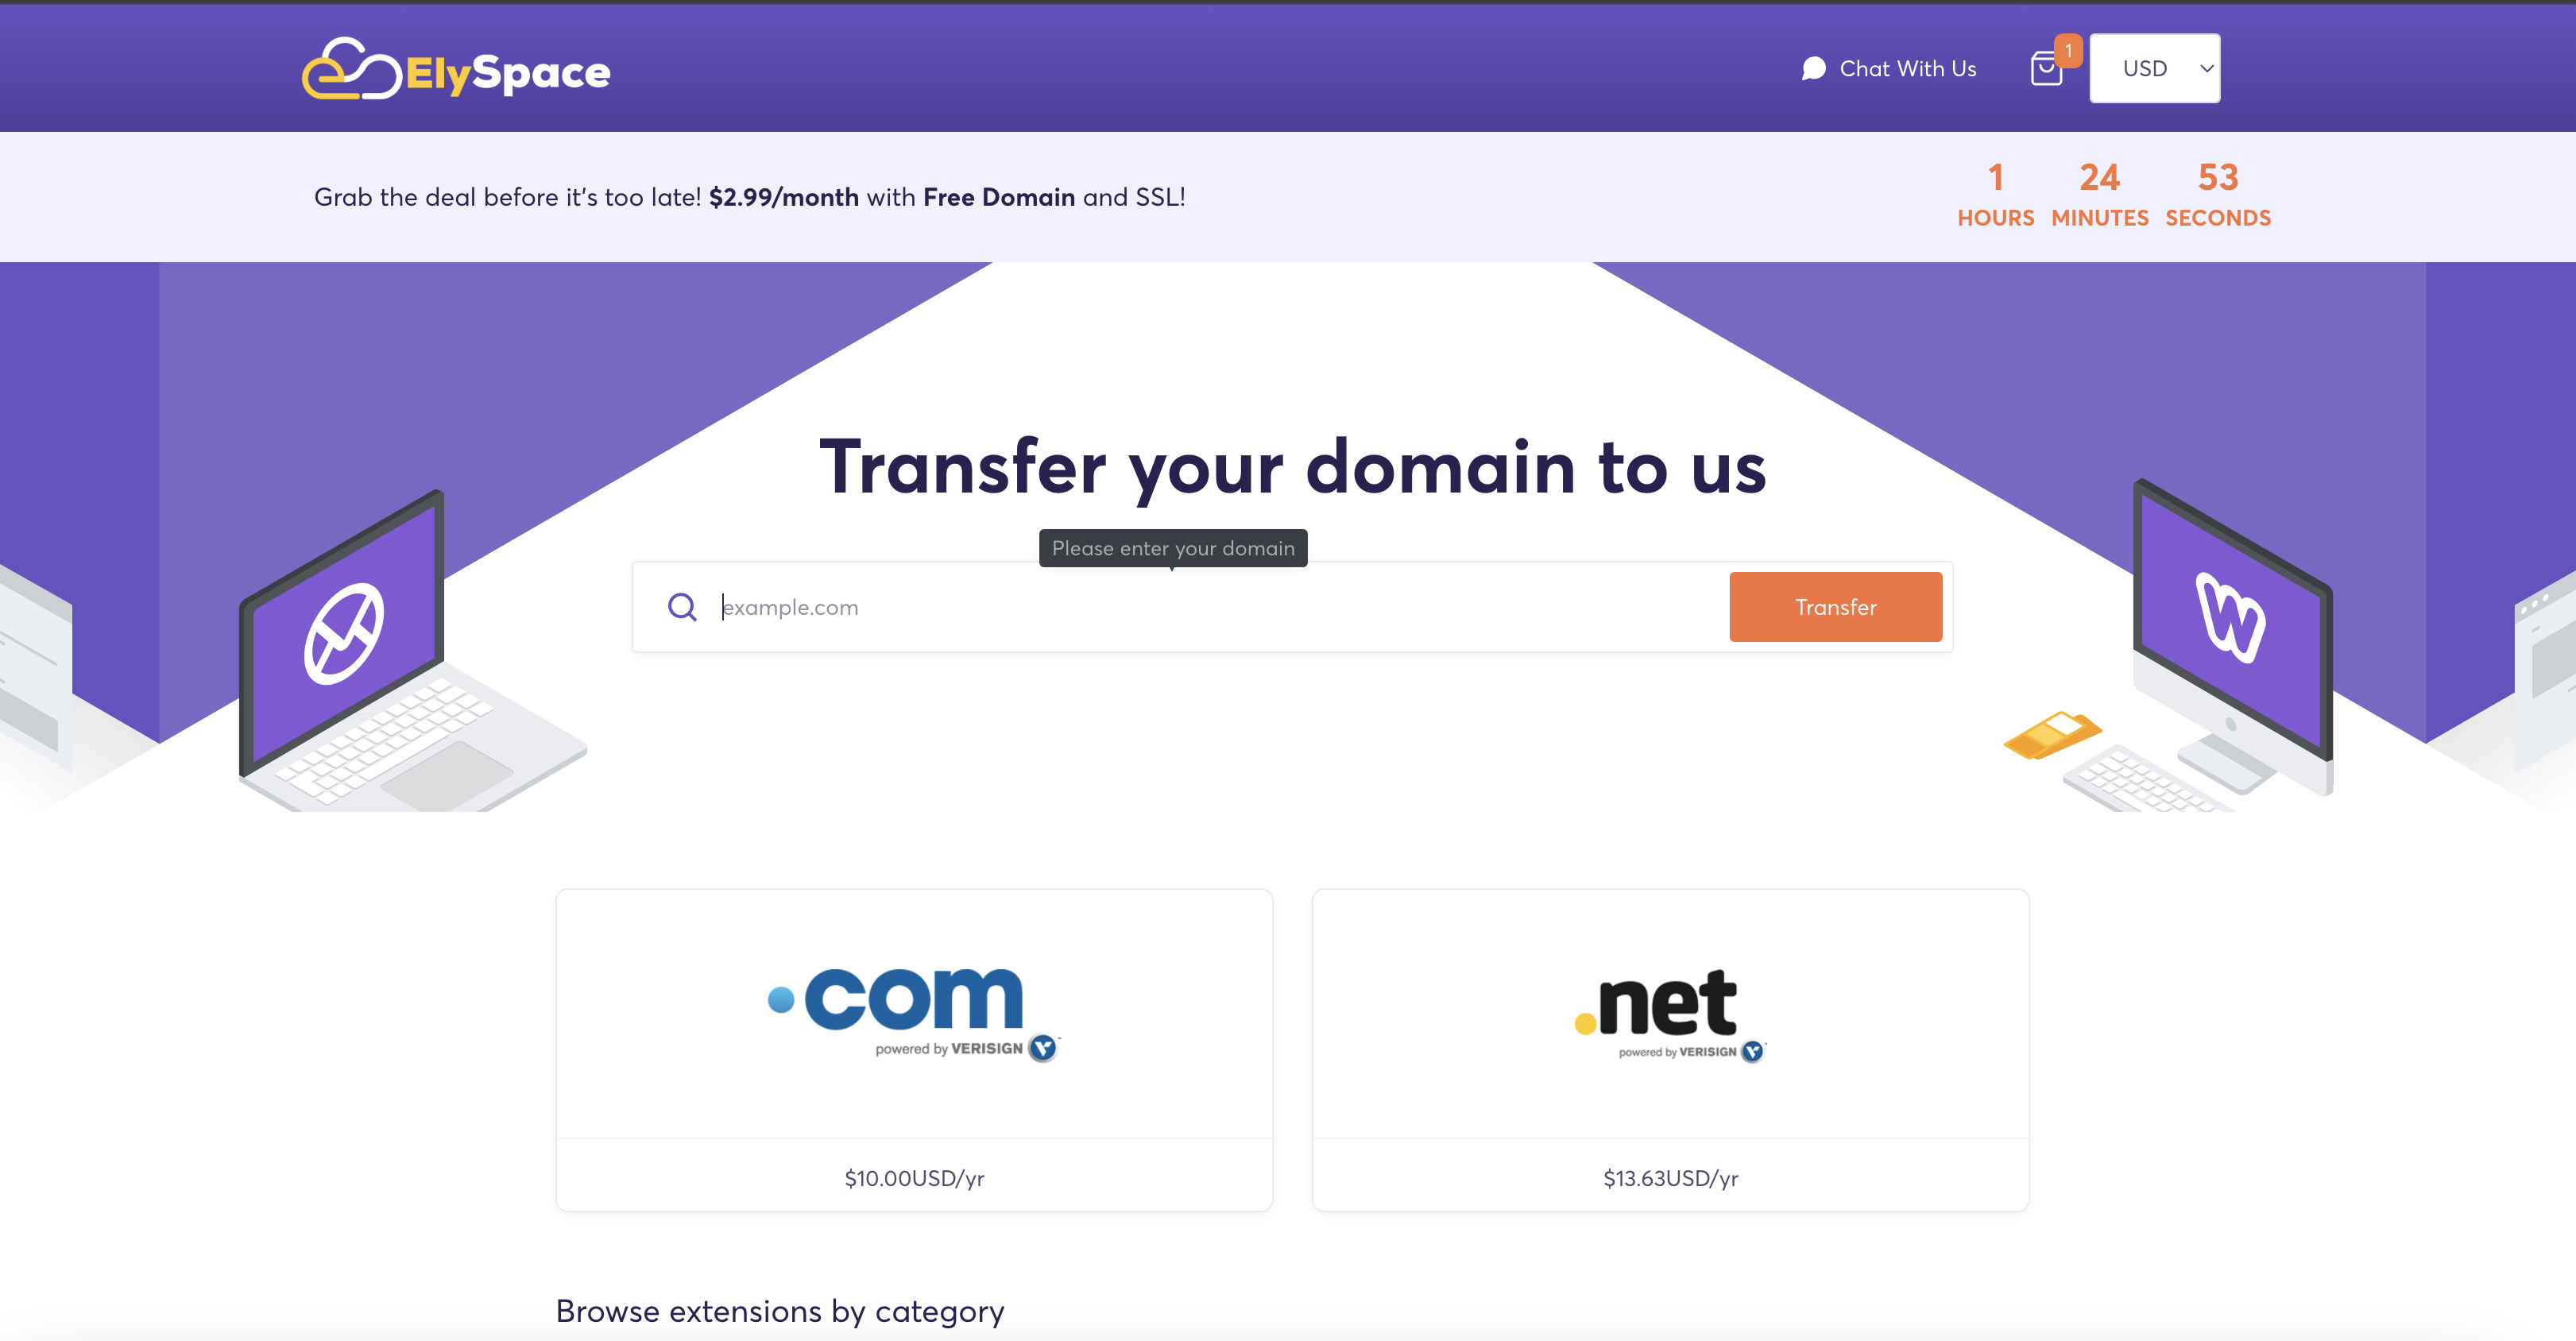
Step 1: Open the ElySpace Domain Transfer Page
-
Open your web browser and go to the ElySpace domain transfer page using this URL: https://my.elyspace.com/cart.php?a=add&domain=transfer
Tip: Bookmark this link if you frequently transfer domains.
Step 2: Enter Your Domain Name
-
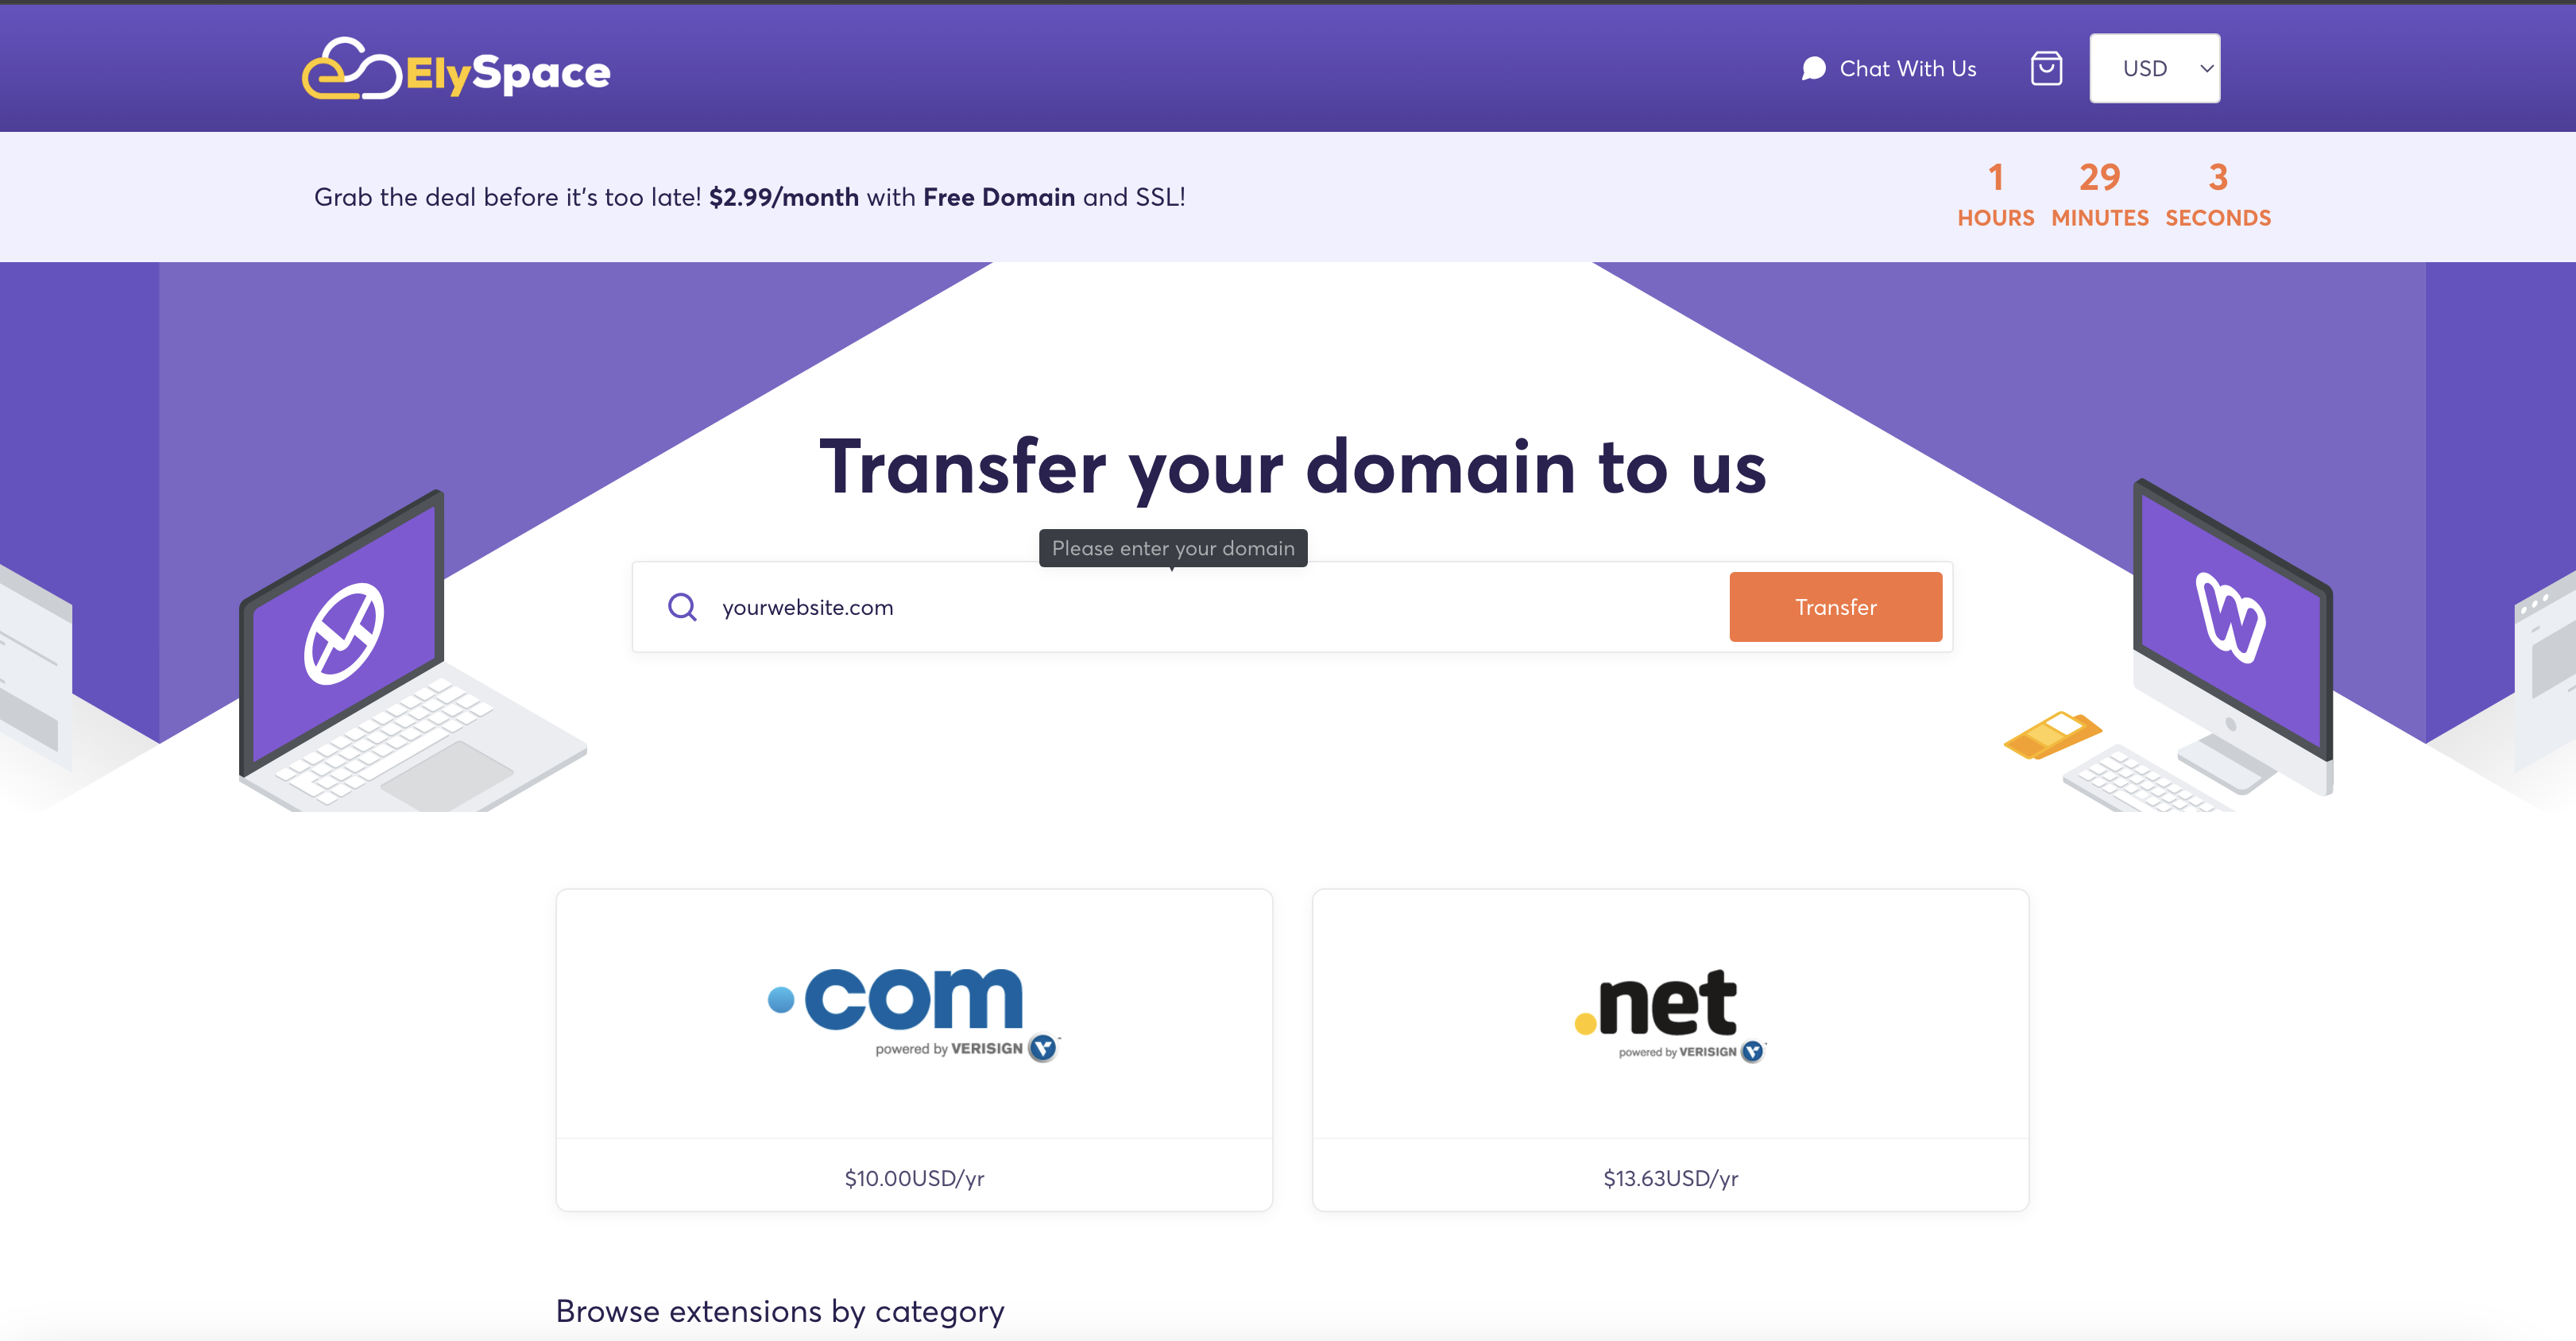
On the transfer page, locate the text field for entering your domain name.
-
Type your domain name (e.g., example.com) into the field and ensure it is spelled correctly.
Tip: A correctly entered domain name avoids unnecessary delays in the transfer process.
Step 3: Provide the Transfer/EPP Code
-
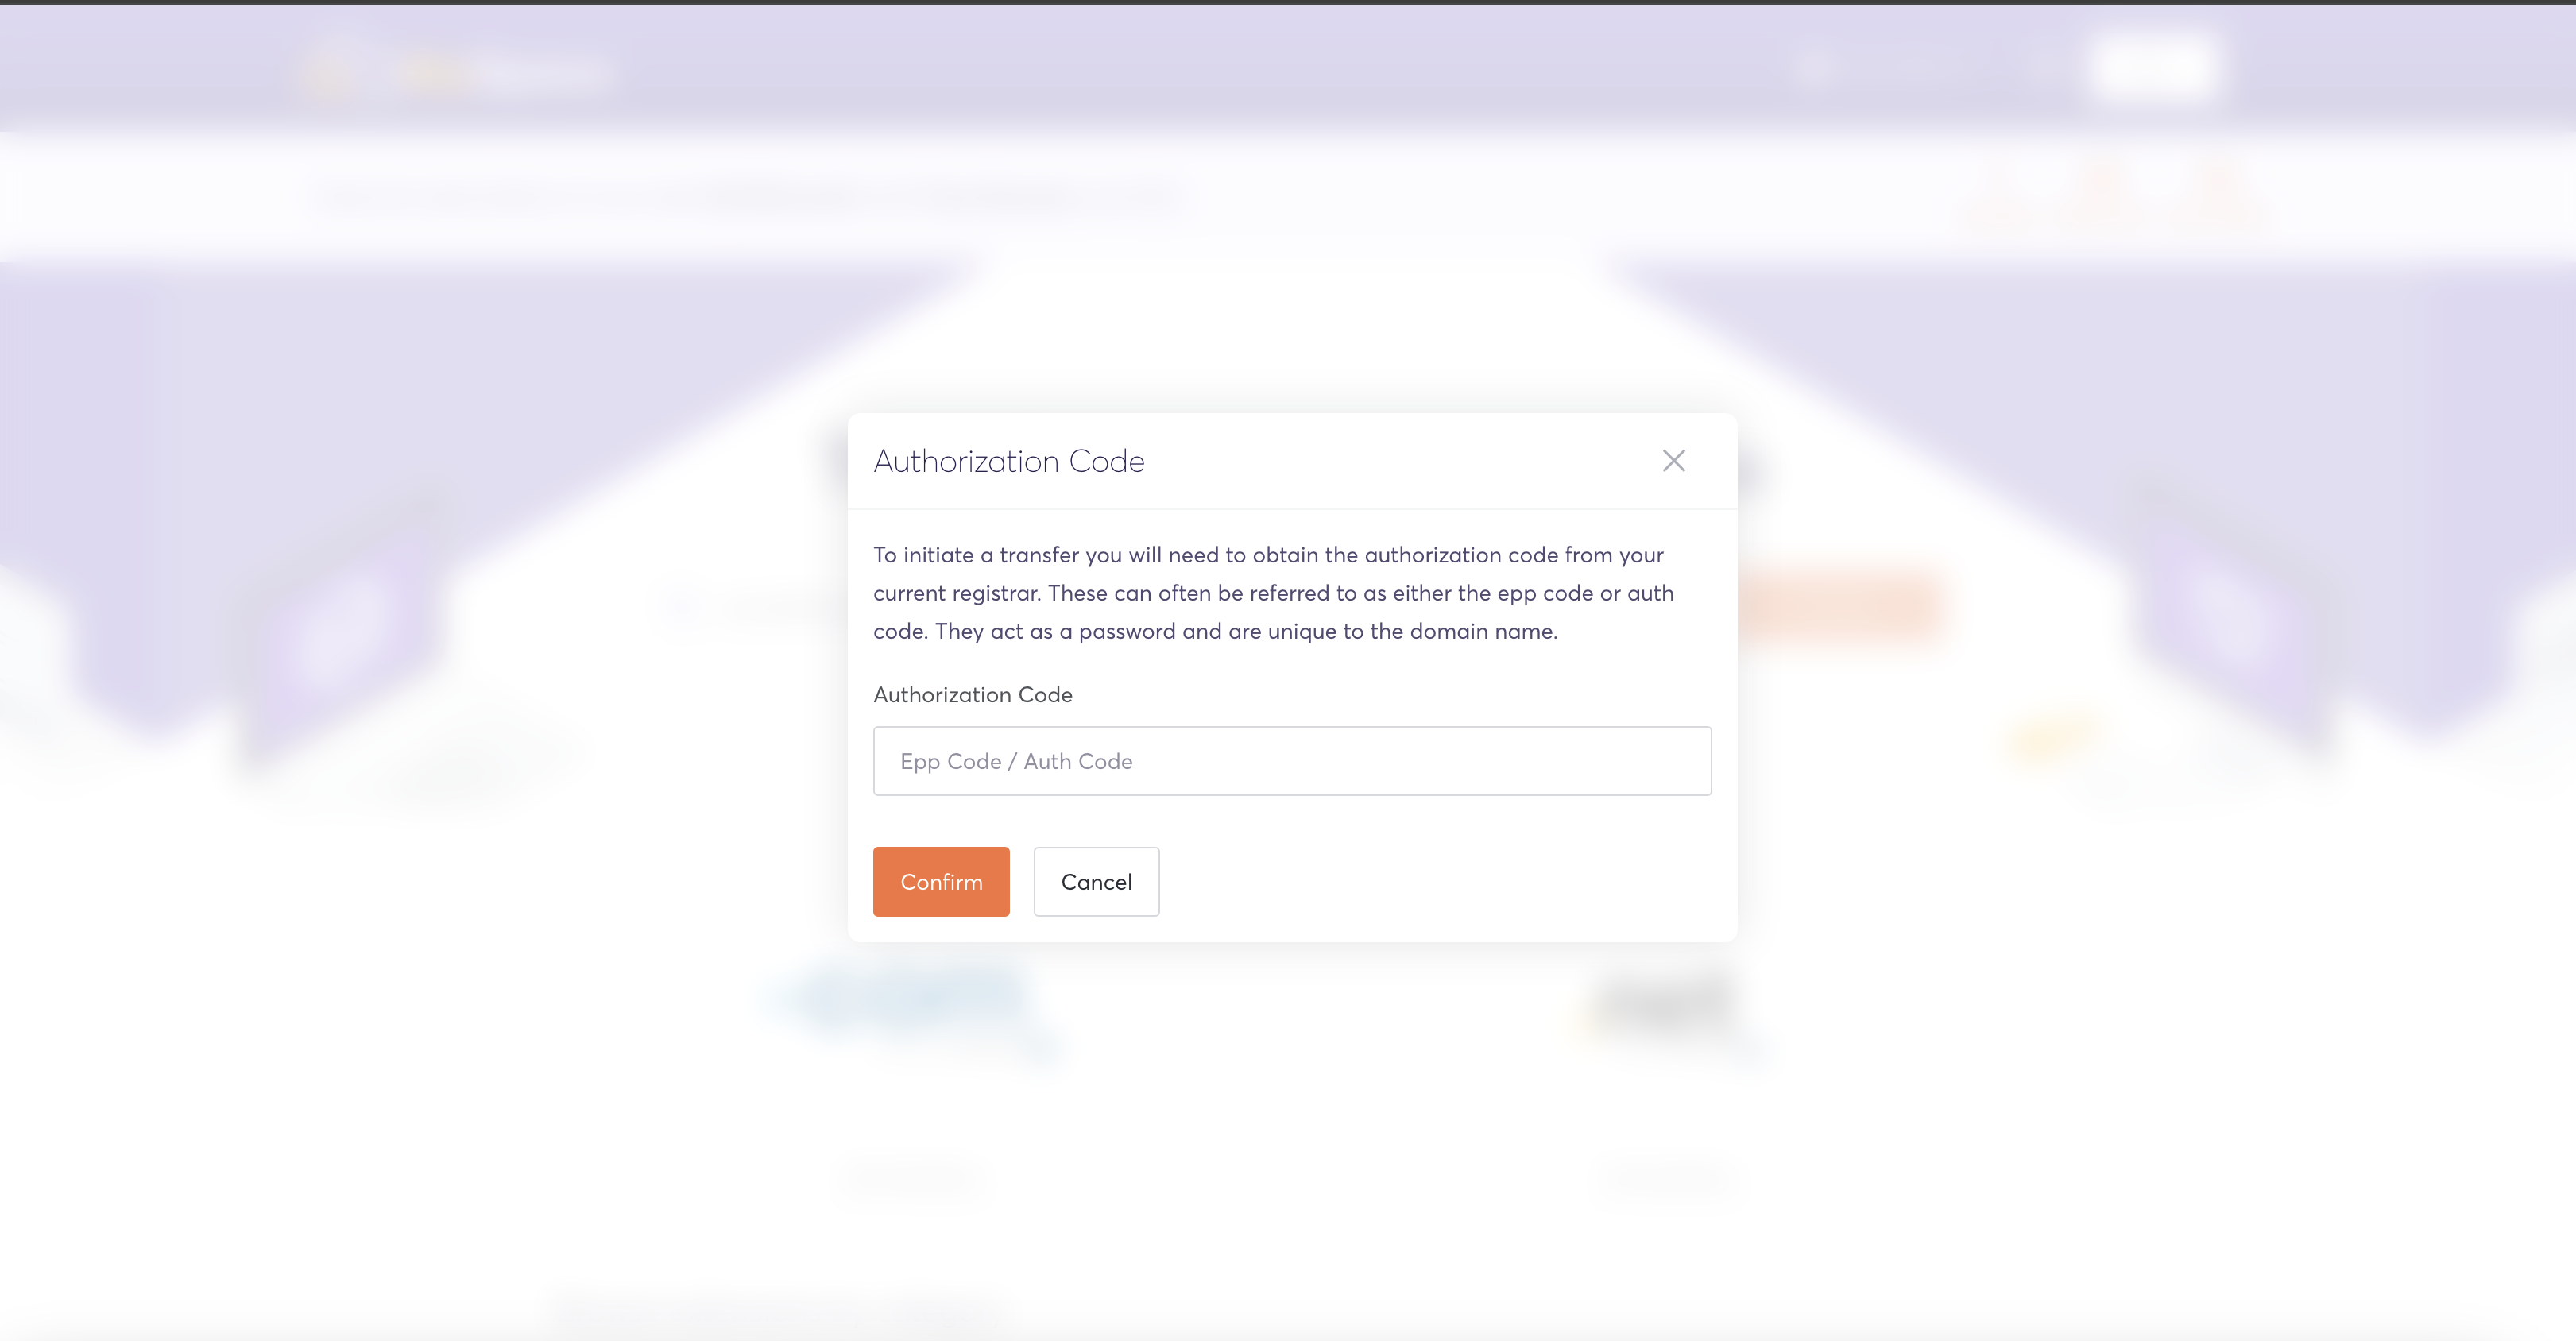
After entering the domain name, the system will prompt you to enter a Transfer Code (also called an EPP Code).
-
Obtain the Transfer/EPP Code from your current registrar. Typically, this code is available in your account or by contacting their support.
-
Enter the code in the required field.
Tip: Make sure your domain is unlocked at your current registrar before proceeding. You can check this in your current registrar's settings.
Step 4: Configure Domain Settings
-
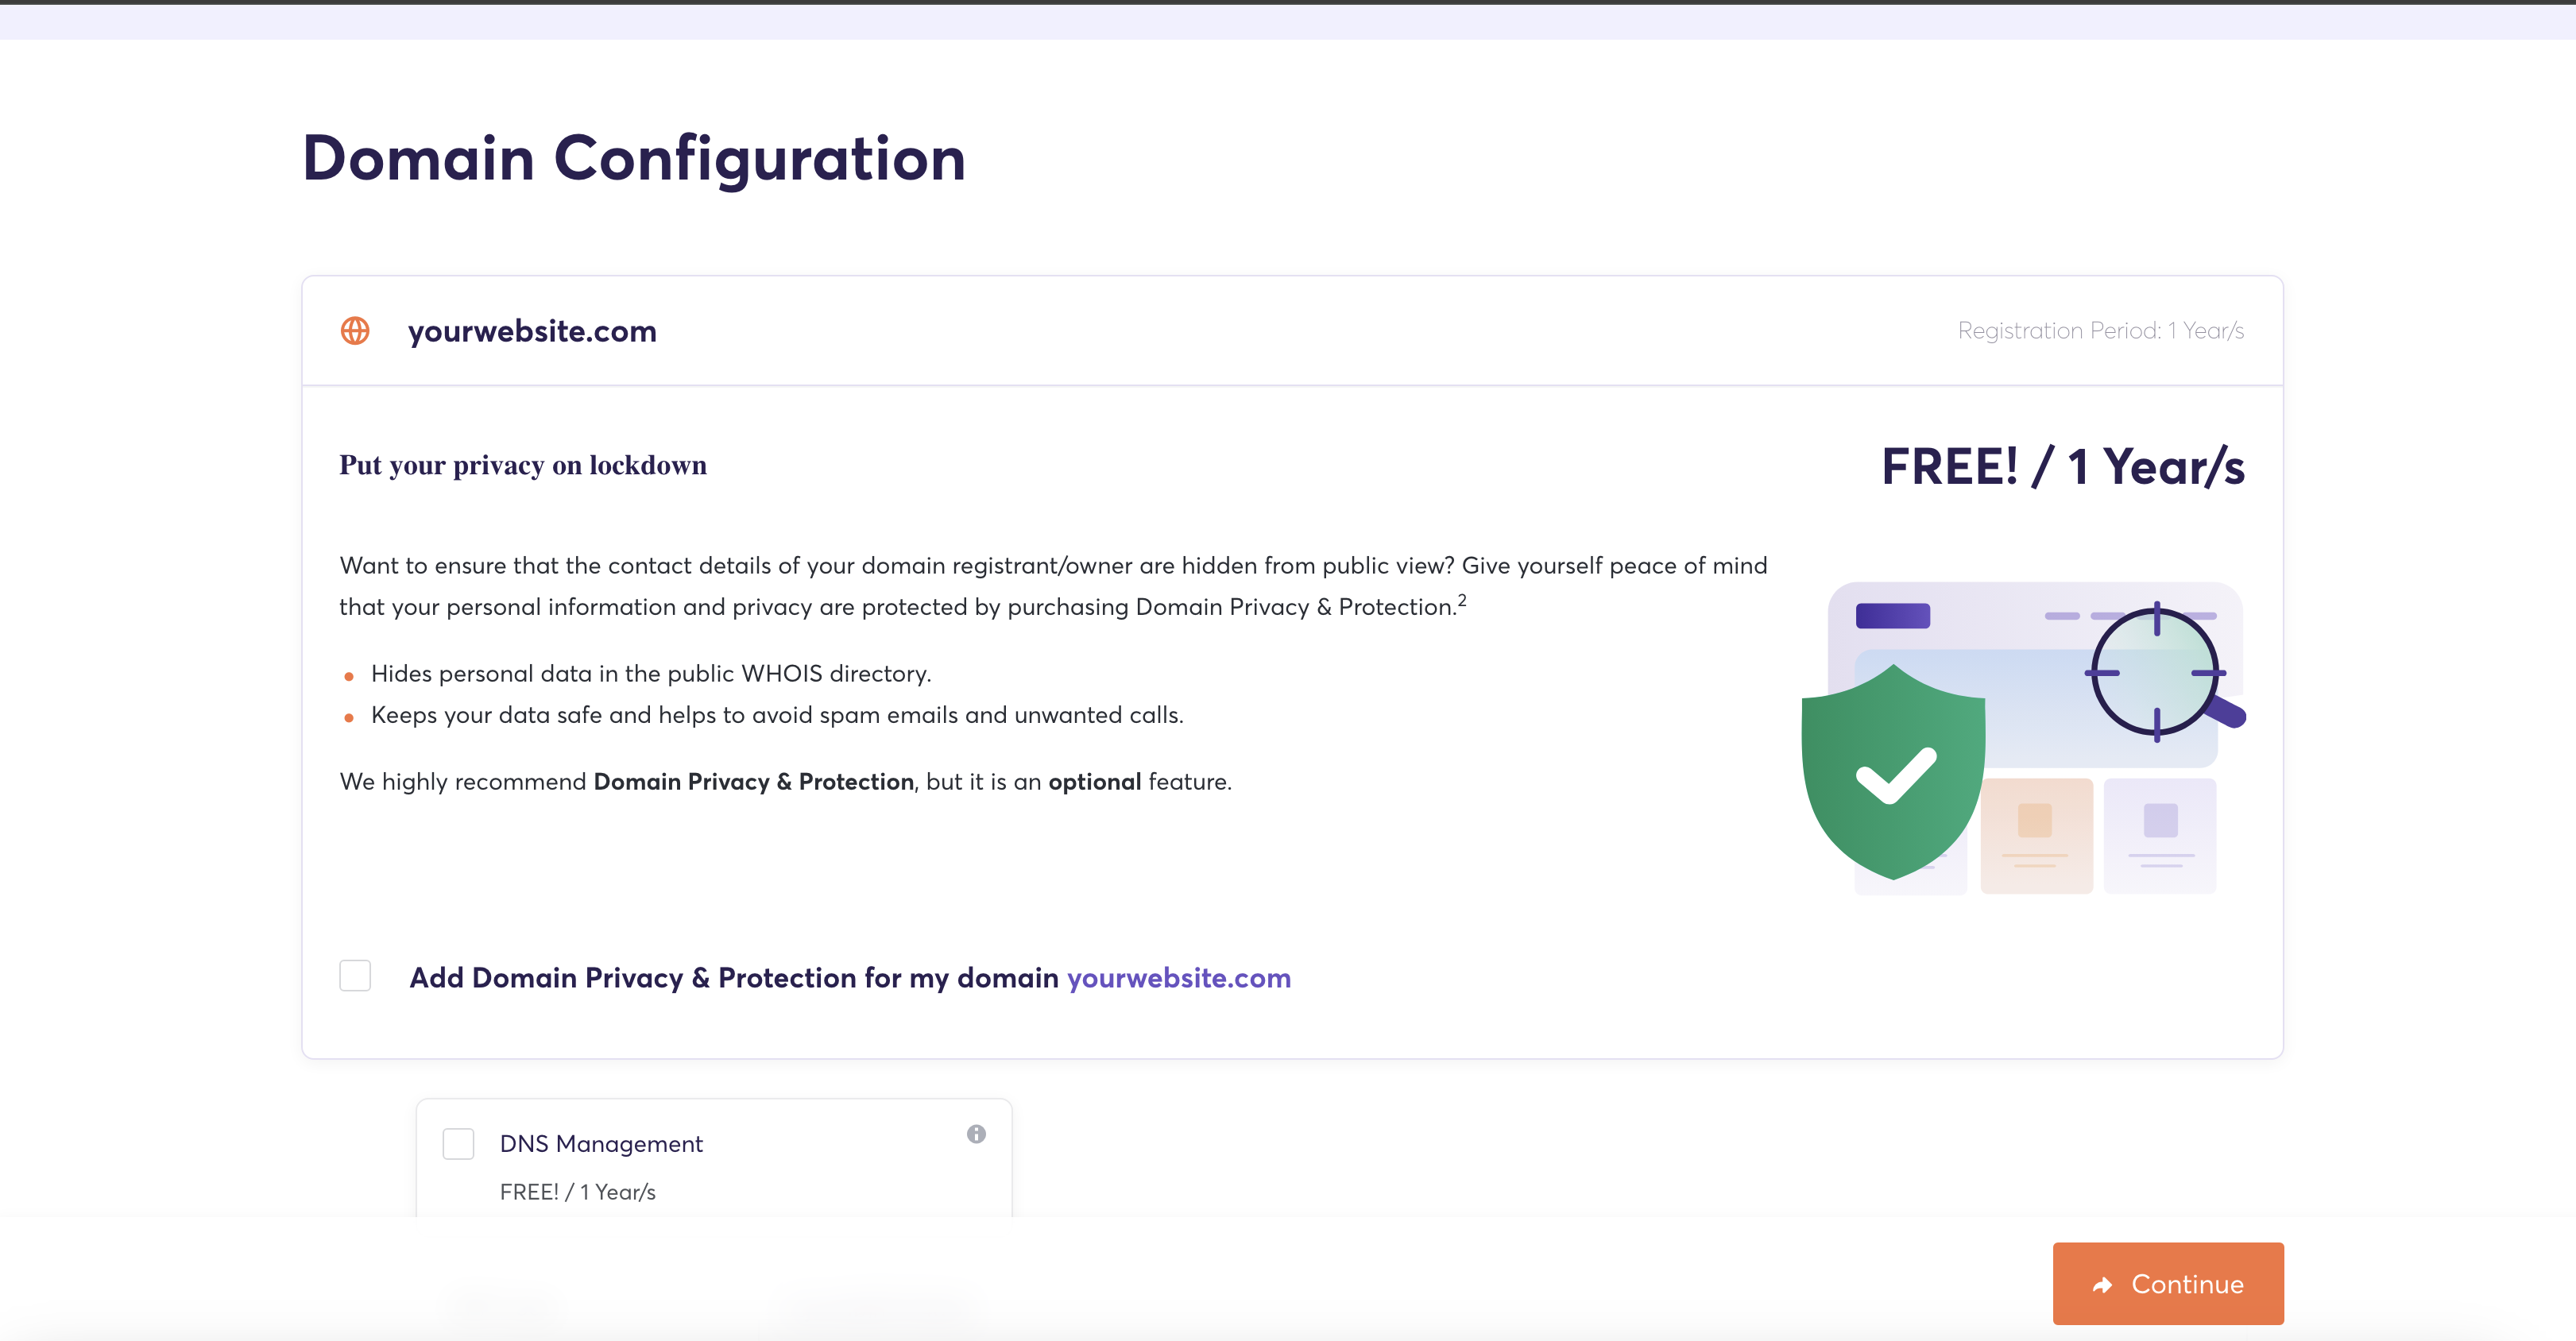
After entering the domain name and EPP code, you will be directed to the Domain Configuration page.
-
Here, you can:
-
Enable DNS Management if required.
-
Opt for WHOIS Protection for privacy.
-
Review and set the Nameserver. It is recommended to keep the nameservers as default to avoid misconfiguration.
Tip: Keeping the default nameservers ensures a smooth transfer without disrupting your website or email services.
-
-
Once you've configured these settings, click Continue to proceed.
Step 5: Review & Checkout
-
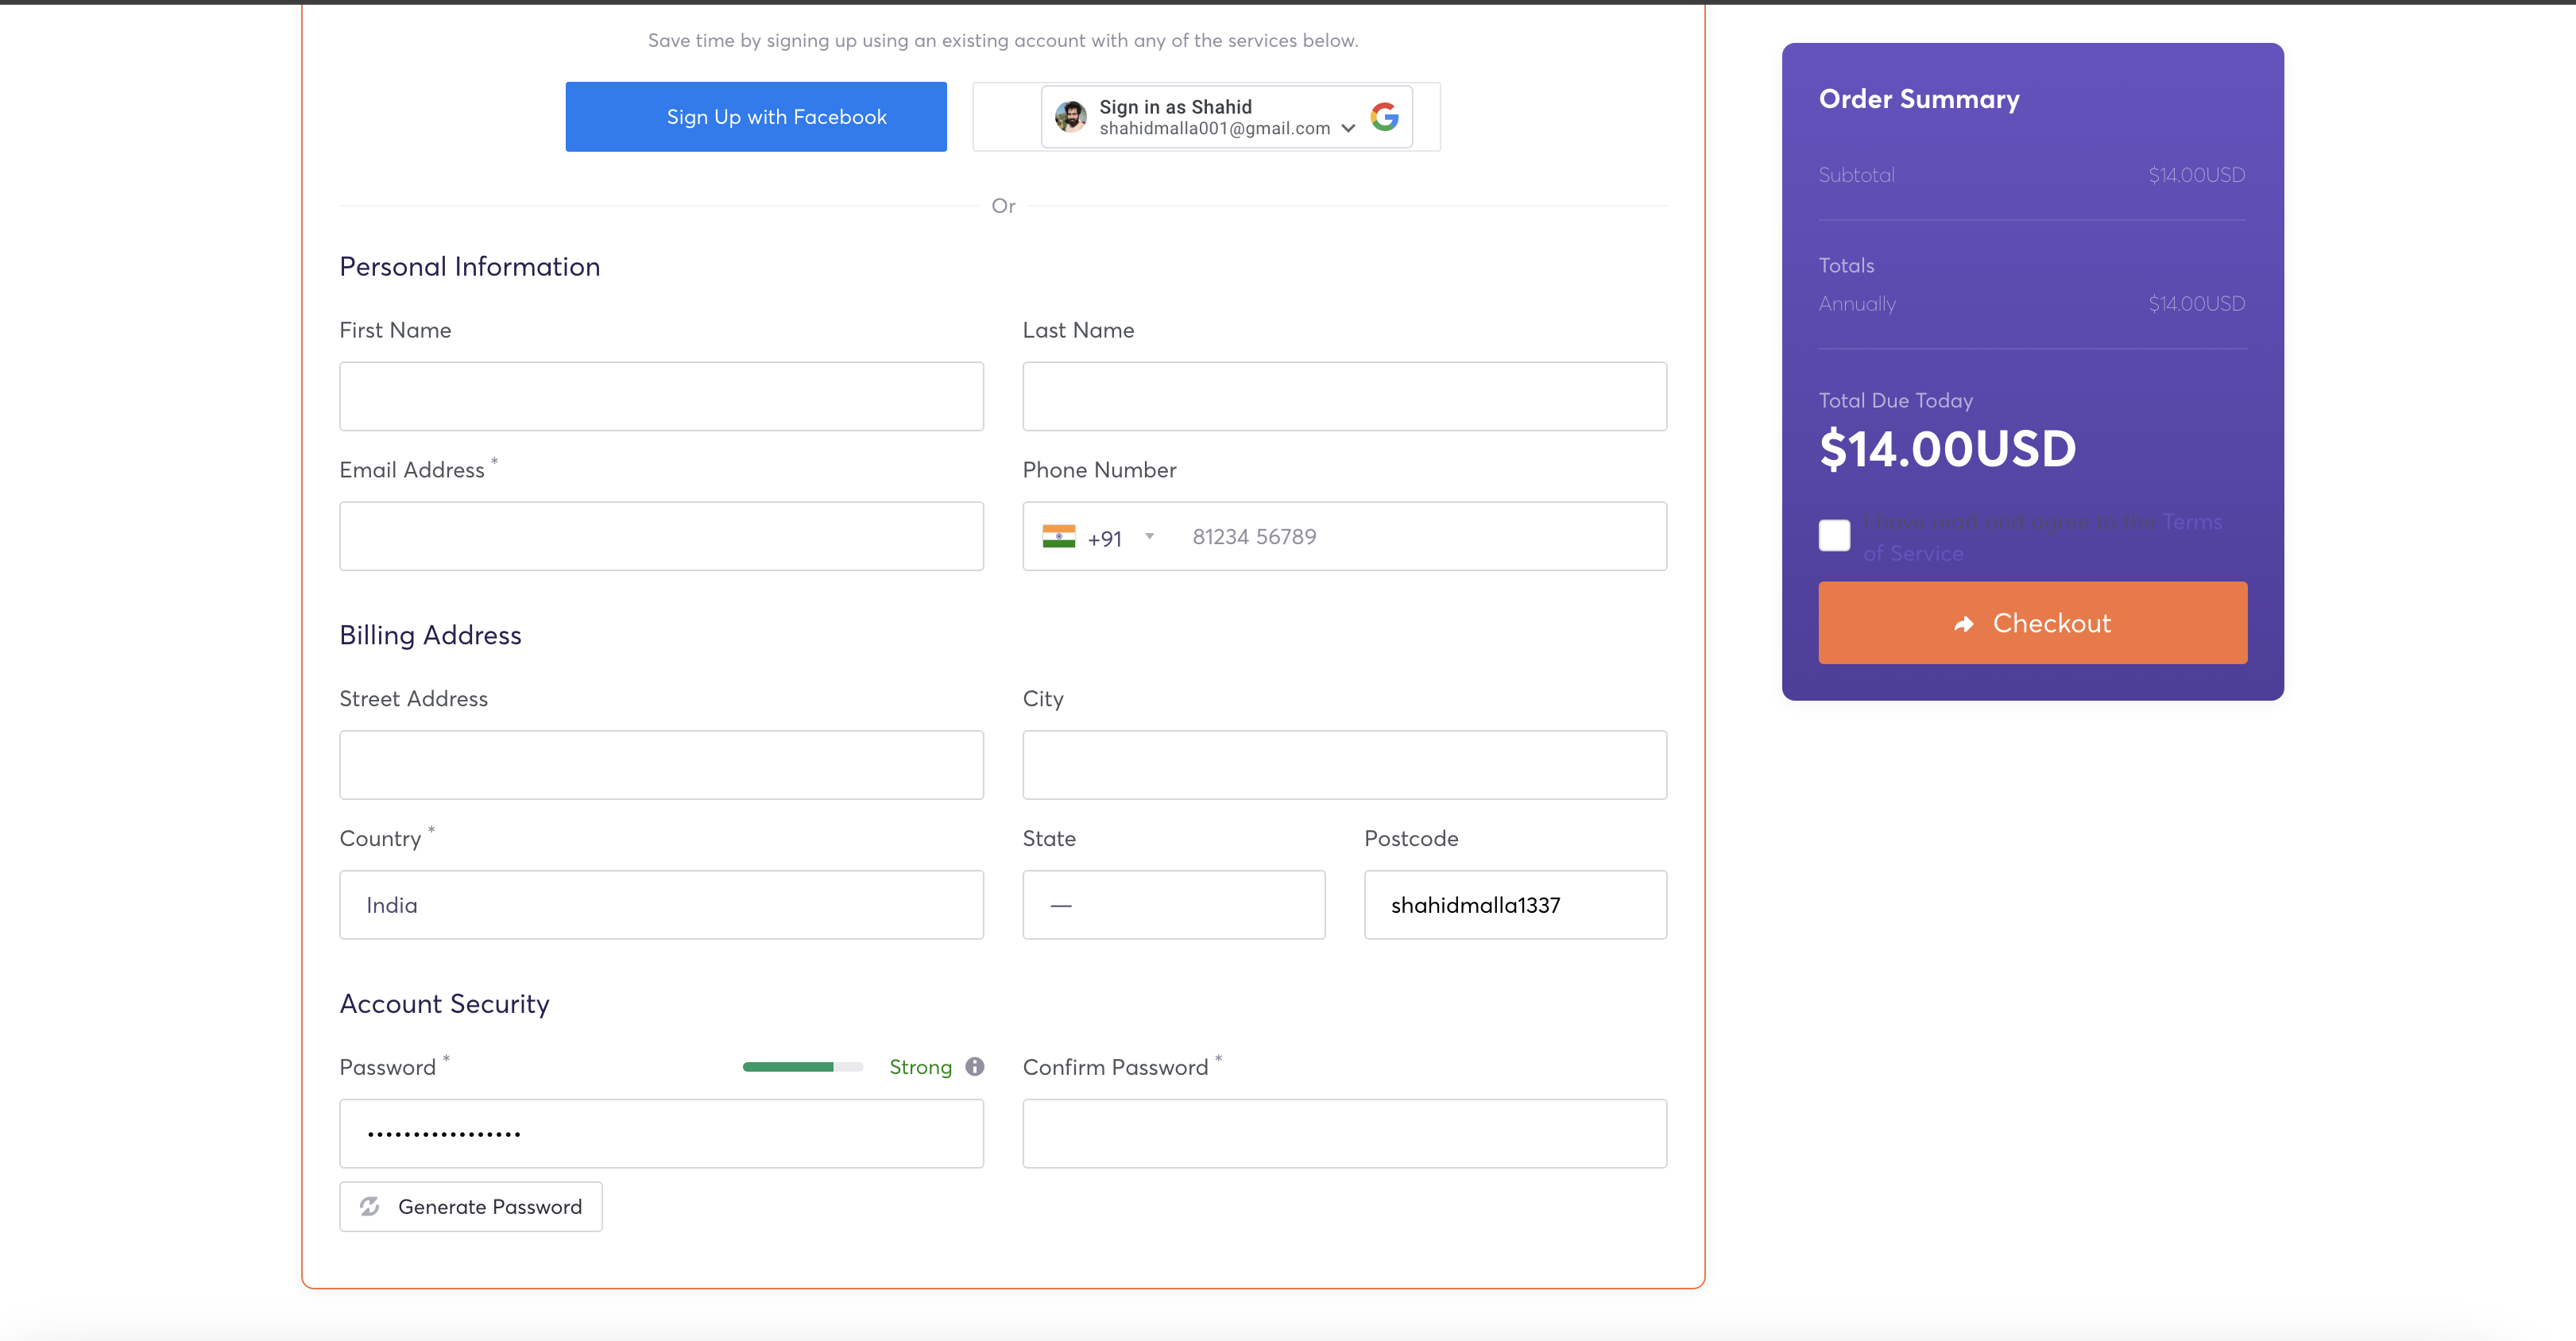
On the Review & Checkout page, you will see a summary of your order, including domain details and any selected addons.
-
If you already have an ElySpace account, you can log in from this page.
-
If you don’t have an account, the system will automatically guide you through creating one by filling in the required details.
Tip: Use accurate contact information during account creation to avoid issues with domain ownership verification.
-
Review the details and click Checkout to proceed to the payment page.
Step 6: Make the Payment
-
Complete the payment using your preferred payment method.
-
Once the payment is confirmed, the domain transfer process will be initiated automatically.
Tip: Save a copy of your payment receipt for future reference.
Final Steps and Recommendations
-
Monitor the Transfer Status: Domain transfers usually take 5-7 days to complete. You will receive updates via email from both ElySpace and your current registrar.
-
Update DNS Settings: After the transfer is complete, verify your DNS settings in the ElySpace control panel to ensure they are correctly configured for your website and email services.
-
Contact Support: If you encounter any issues during the transfer, ElySpace offers dedicated support to assist you.
Tip: Start the transfer process well before your domain’s expiration date to avoid service interruptions.
Contact ElySpace Support https://elyspace.com/contact-us


