Introduction
Adding products to your WooCommerce store is easy and can be done quickly with just a few steps. Whether you're selling physical items, digital downloads, or services, WooCommerce makes it straightforward to set everything up. Let’s break it down step by step so you can get your products online and ready for customers!
Step 1: Log In to Your Dashboard
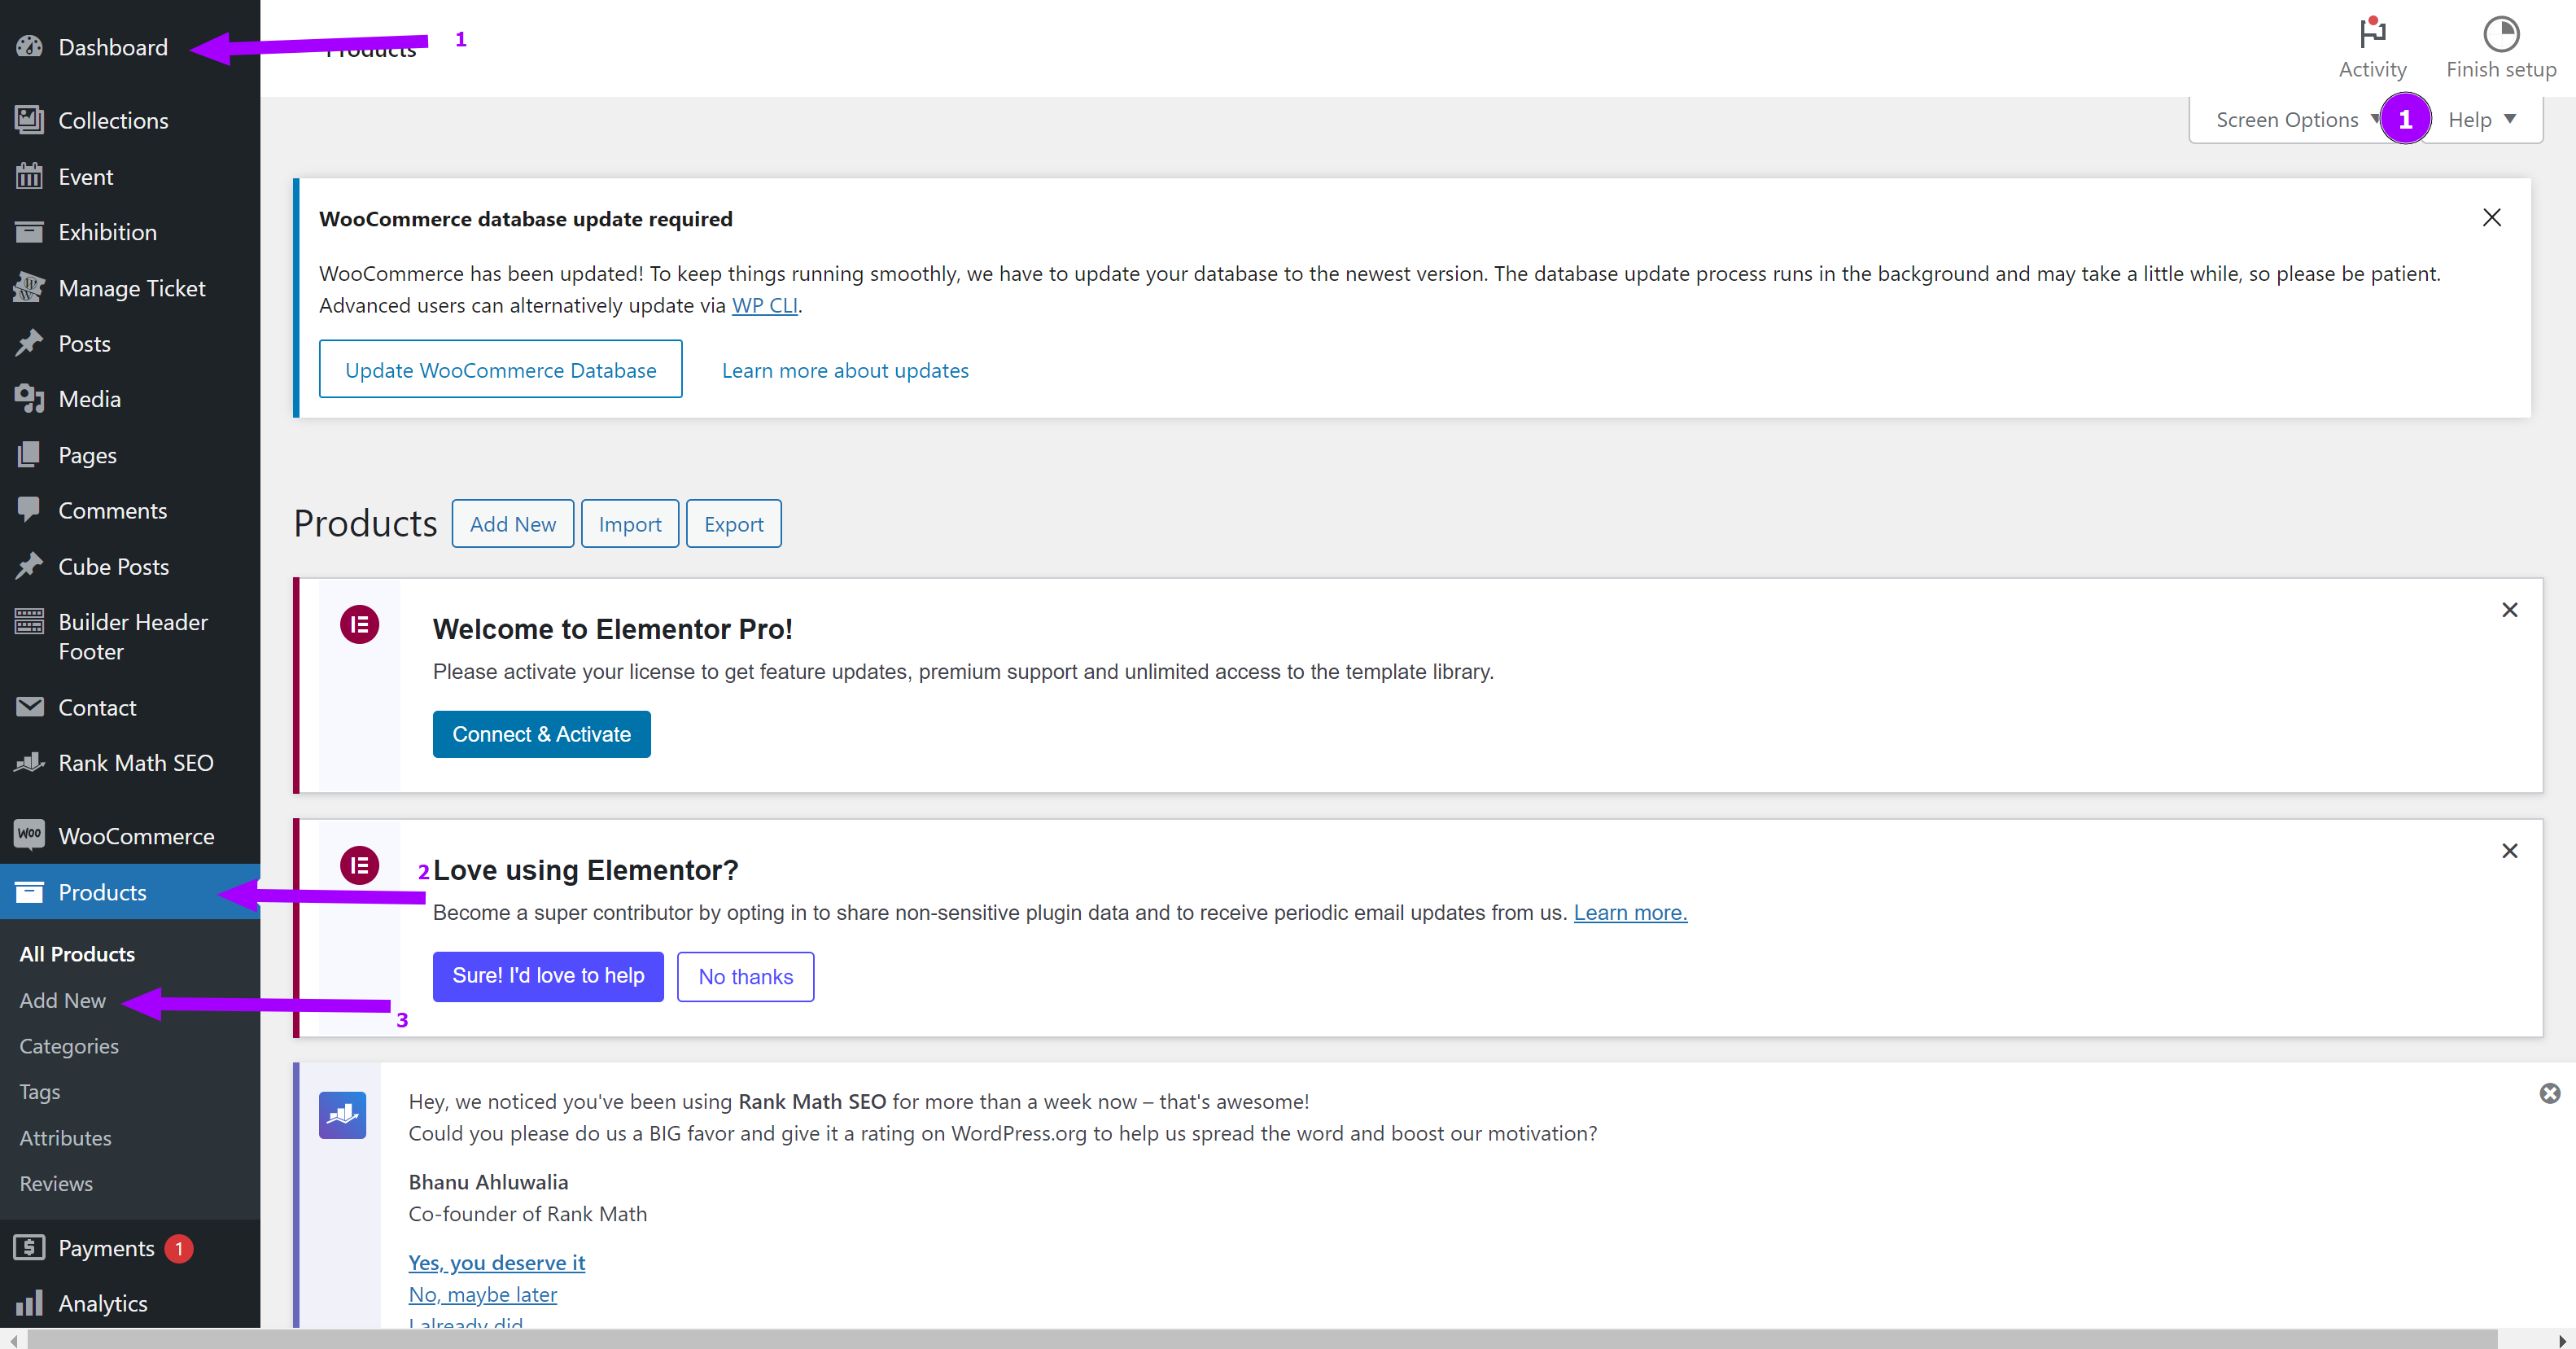
First, you need to log into your WordPress dashboard. This is the control center for your website. Once you're logged in, look for the Products section in the left sidebar. Here, you'll find an option to Add New Product. Click on that button to start the process.
Step 2: Add Title and Description
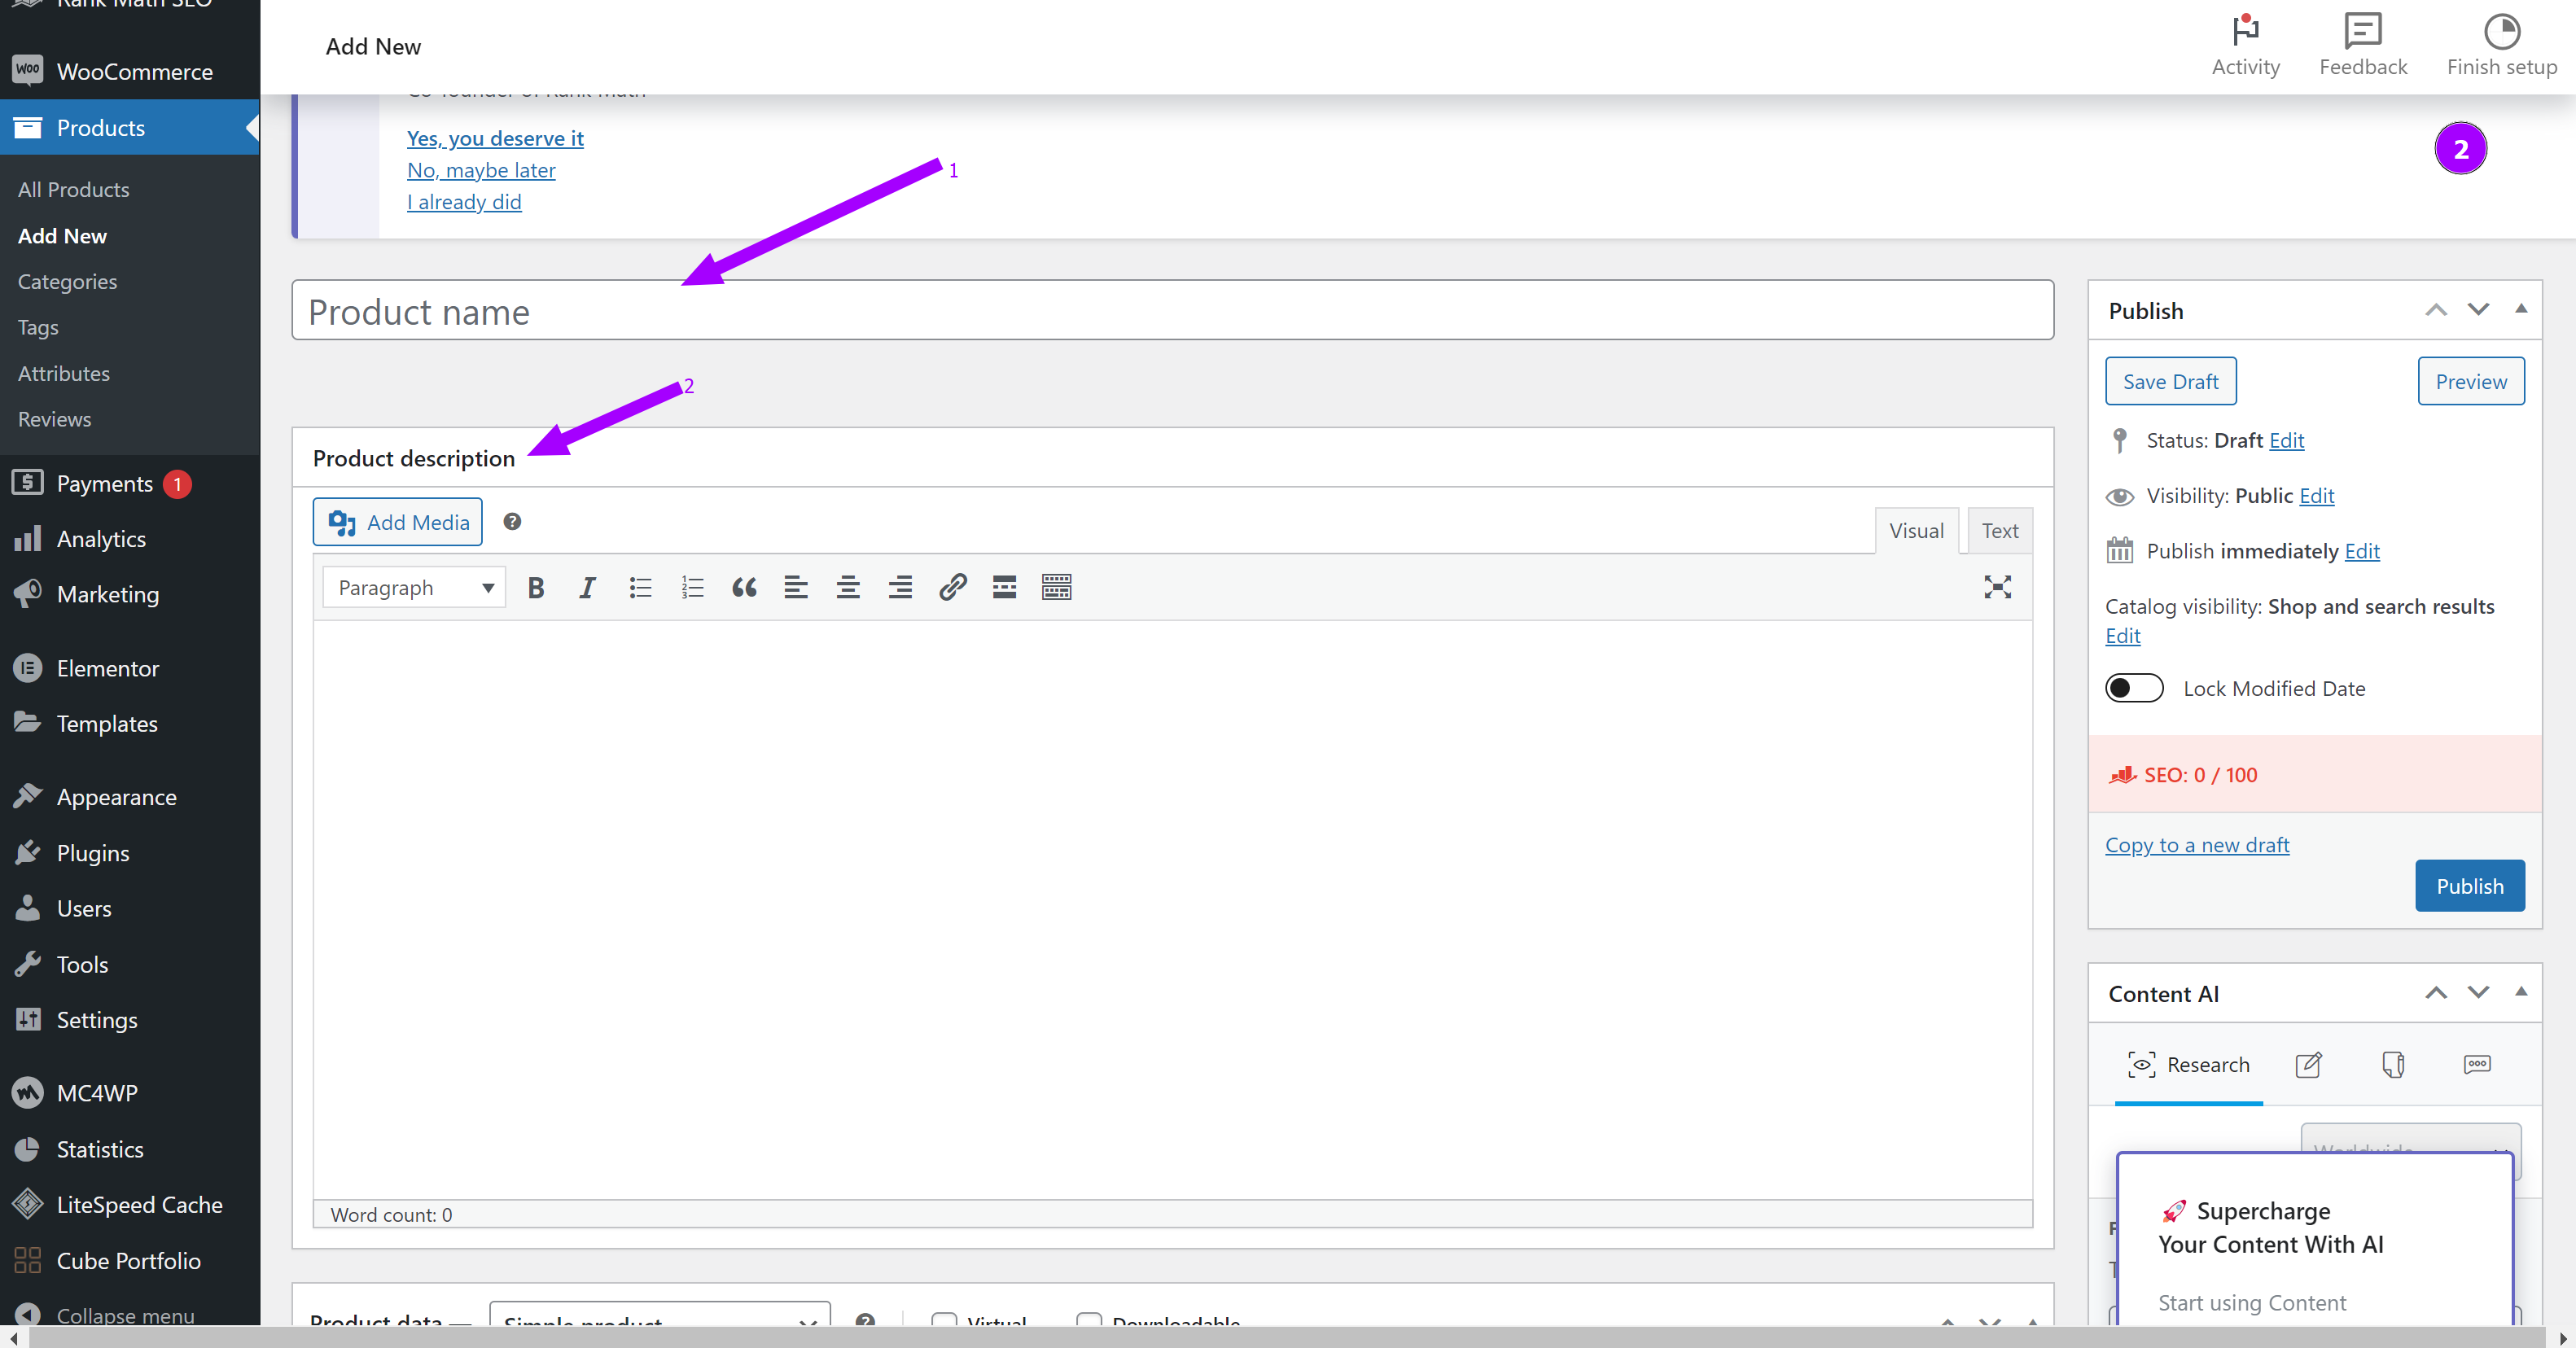
Title: Write the name of your product.
Description: Write a detailed description. Include important details like features and benefits. You can use bullet points to make it easy to read.
Step 3: Choose Product Type
You need to choose what kind of product you are selling. Here are the main types:
Simple Product: A regular product with no options (e.g., a t-shirt).
Grouped Product: A bundle of simple products (e.g., a pack of t-shirts).
External Product: A link to a product sold on another site (useful for dropshipping).
Variable Product: A product with options (e.g., a t-shirt available in different sizes and colors).

You can also choose:
Virtual Product: A service that doesn’t require shipping.
Downloadable Product: A file customers can download after purchase (like an eBook)
Step 4: Fill in Product Data
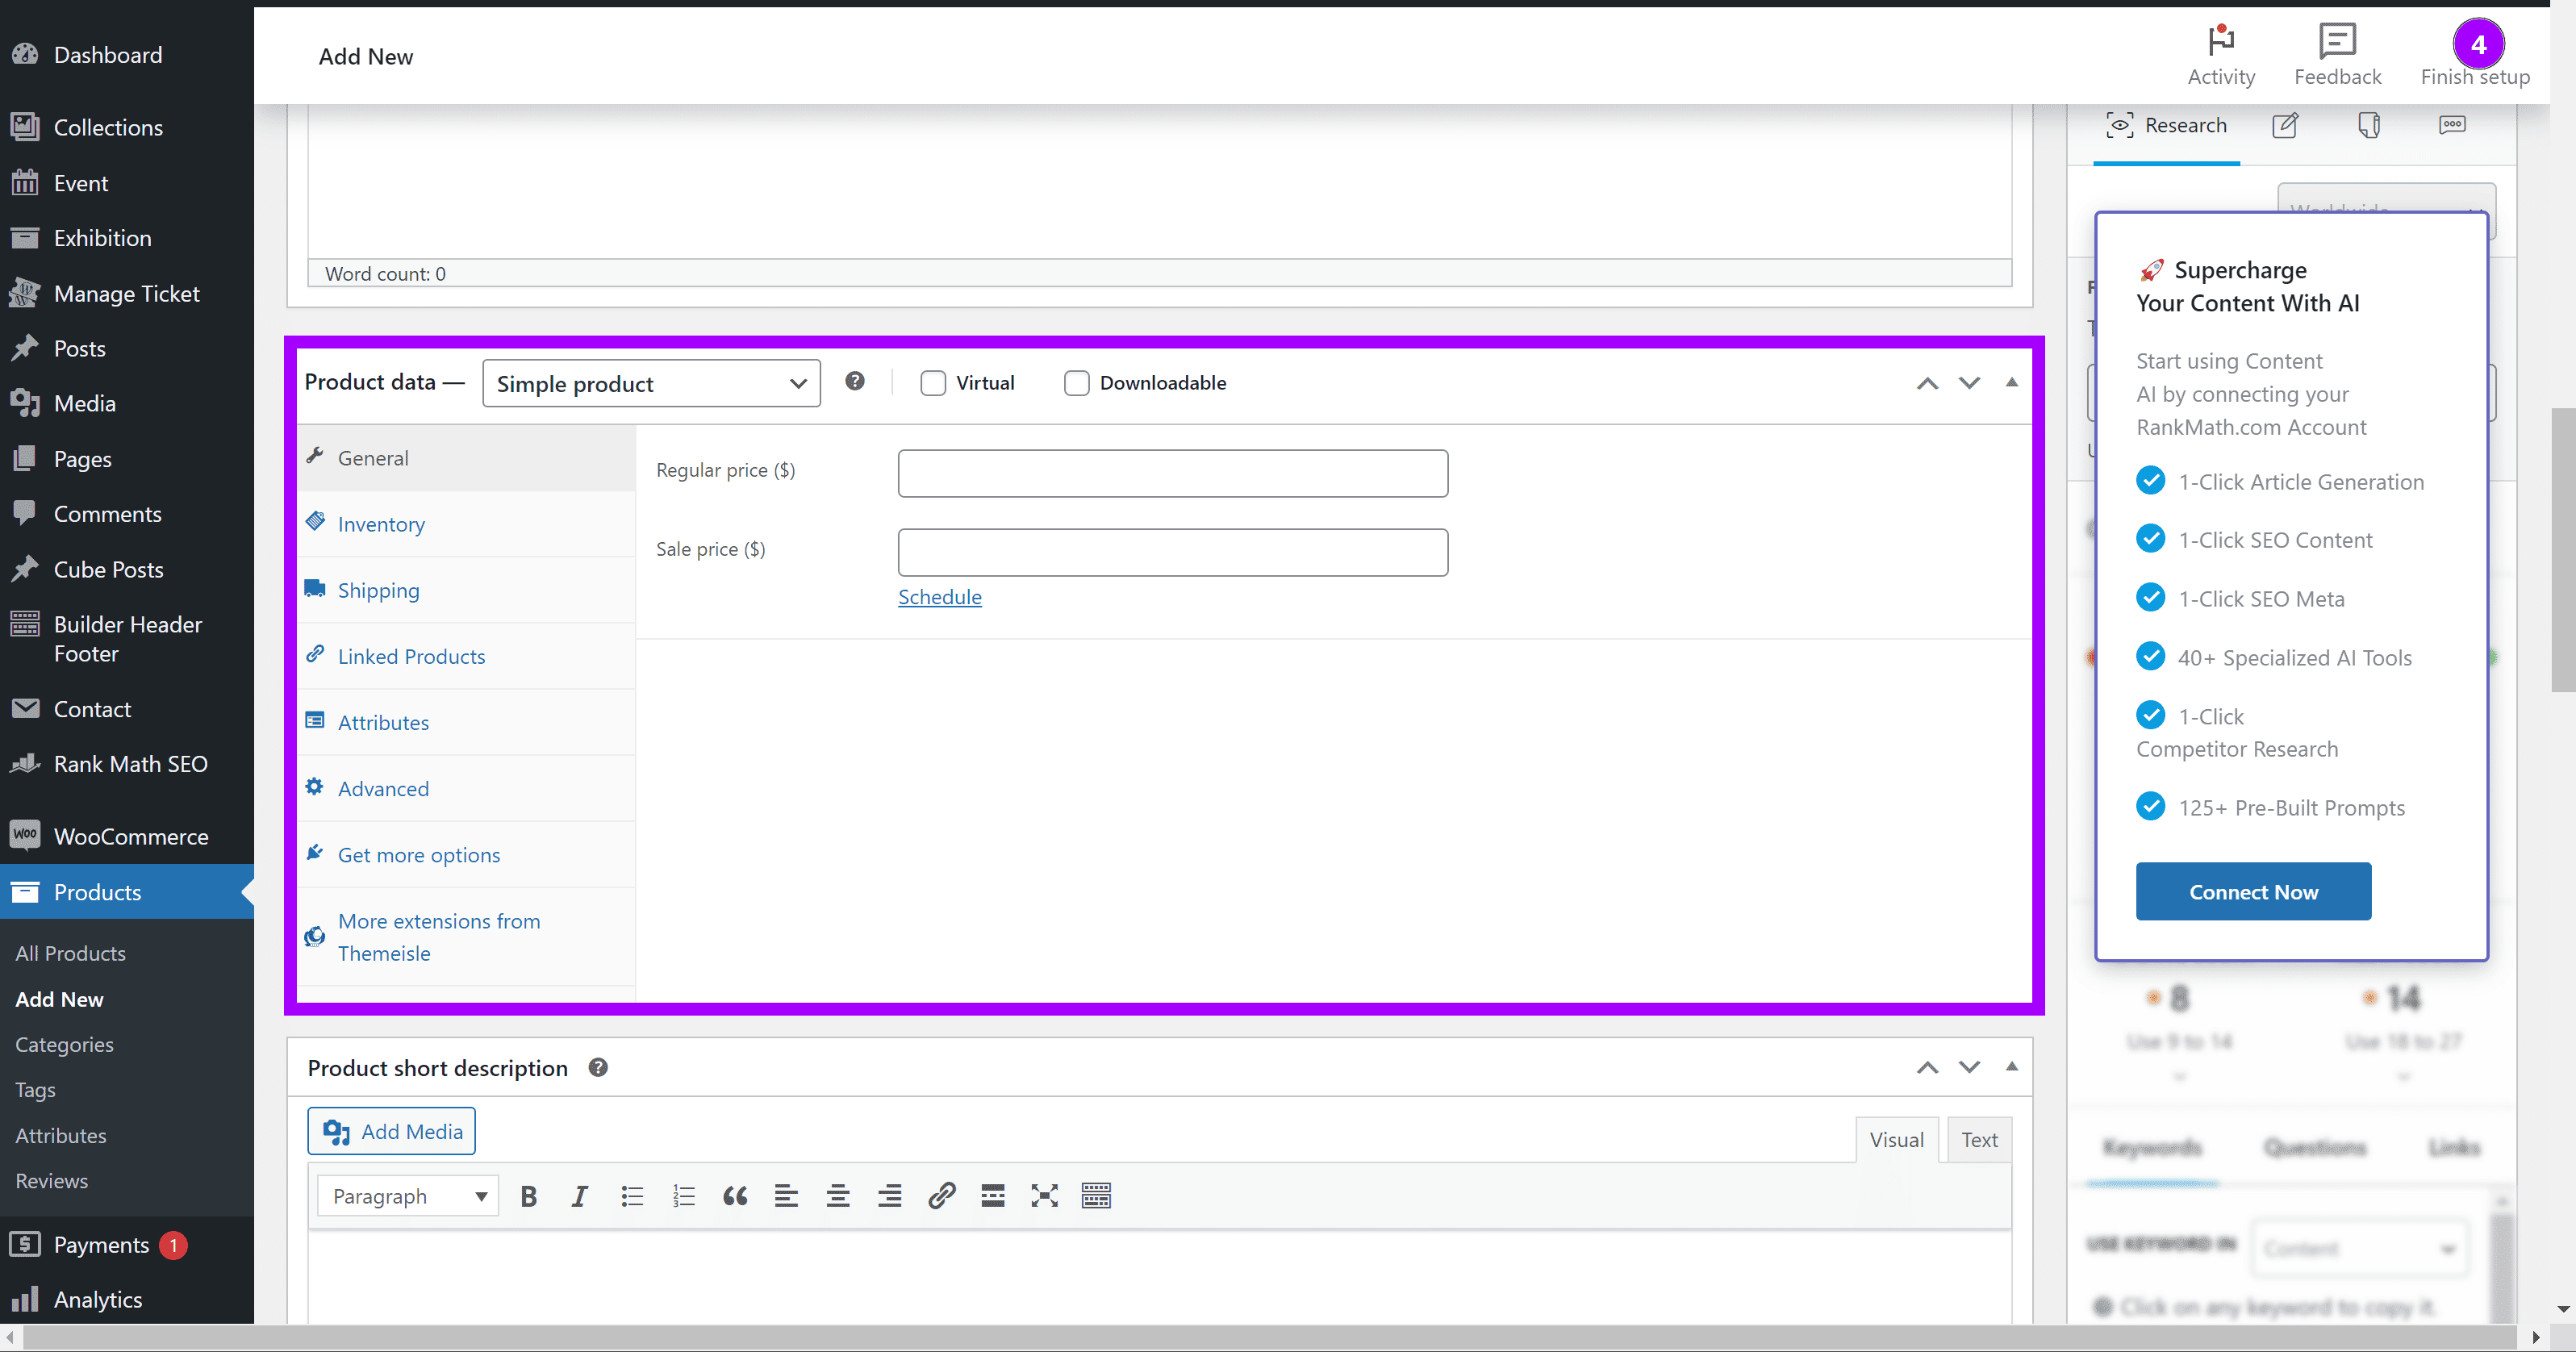
After selecting the product type, fill in the Product Data section. Use the tabs on the left to find different options:
General Tab: Set the regular price and sale price (if applicable). Choose if the product is taxable.
Inventory Tab: Add a SKU (a unique code for your product) and manage stock levels. If stock management is enabled, you can enter how many items are available.
Shipping Tab: Enter weight and dimensions if you are shipping a physical product.
Linked Products Tab: Add related products to suggest to customers (cross-sells and upsells).
Attributes Tab: Specify options like colors or sizes for your product.
Advanced Tab: Add special notes or enable customer reviews.
Step 5: Write a Short Description
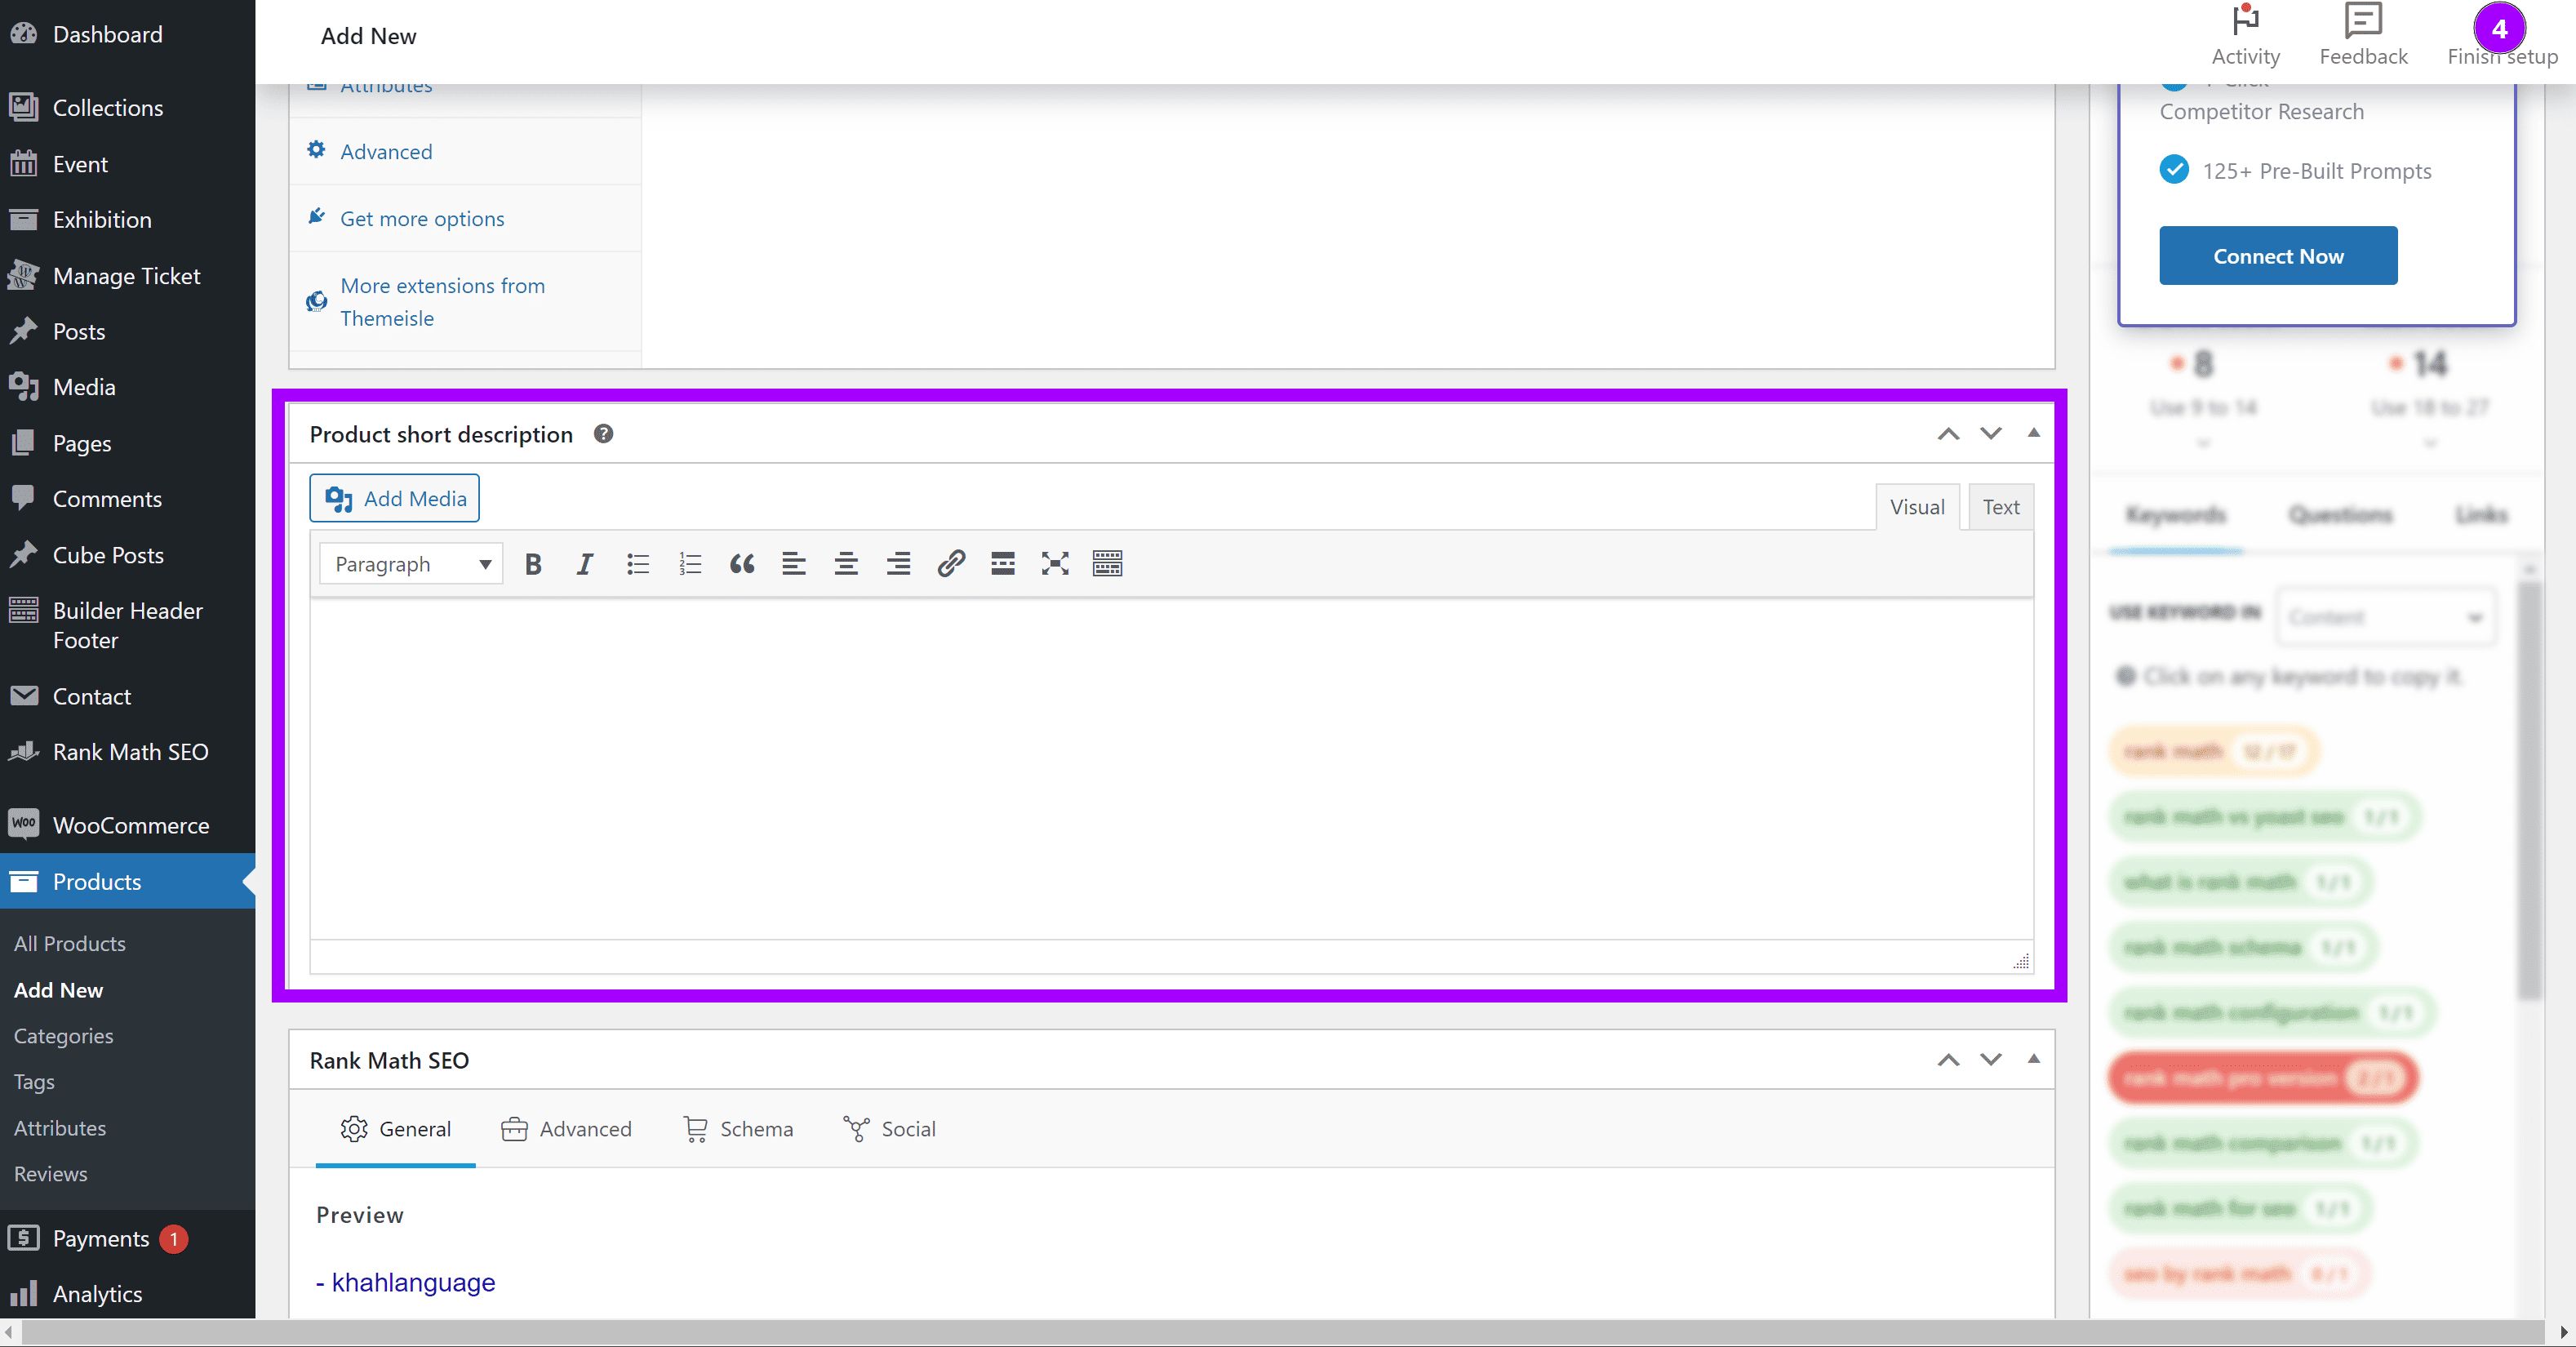
This is a brief summary of your product that appears on the product page. Make it catchy and include keywords to help with search engine rankings.
Step 6: Add Product Image
Upload a clear, high-quality image of your product. This image will be shown on your store and product pages.
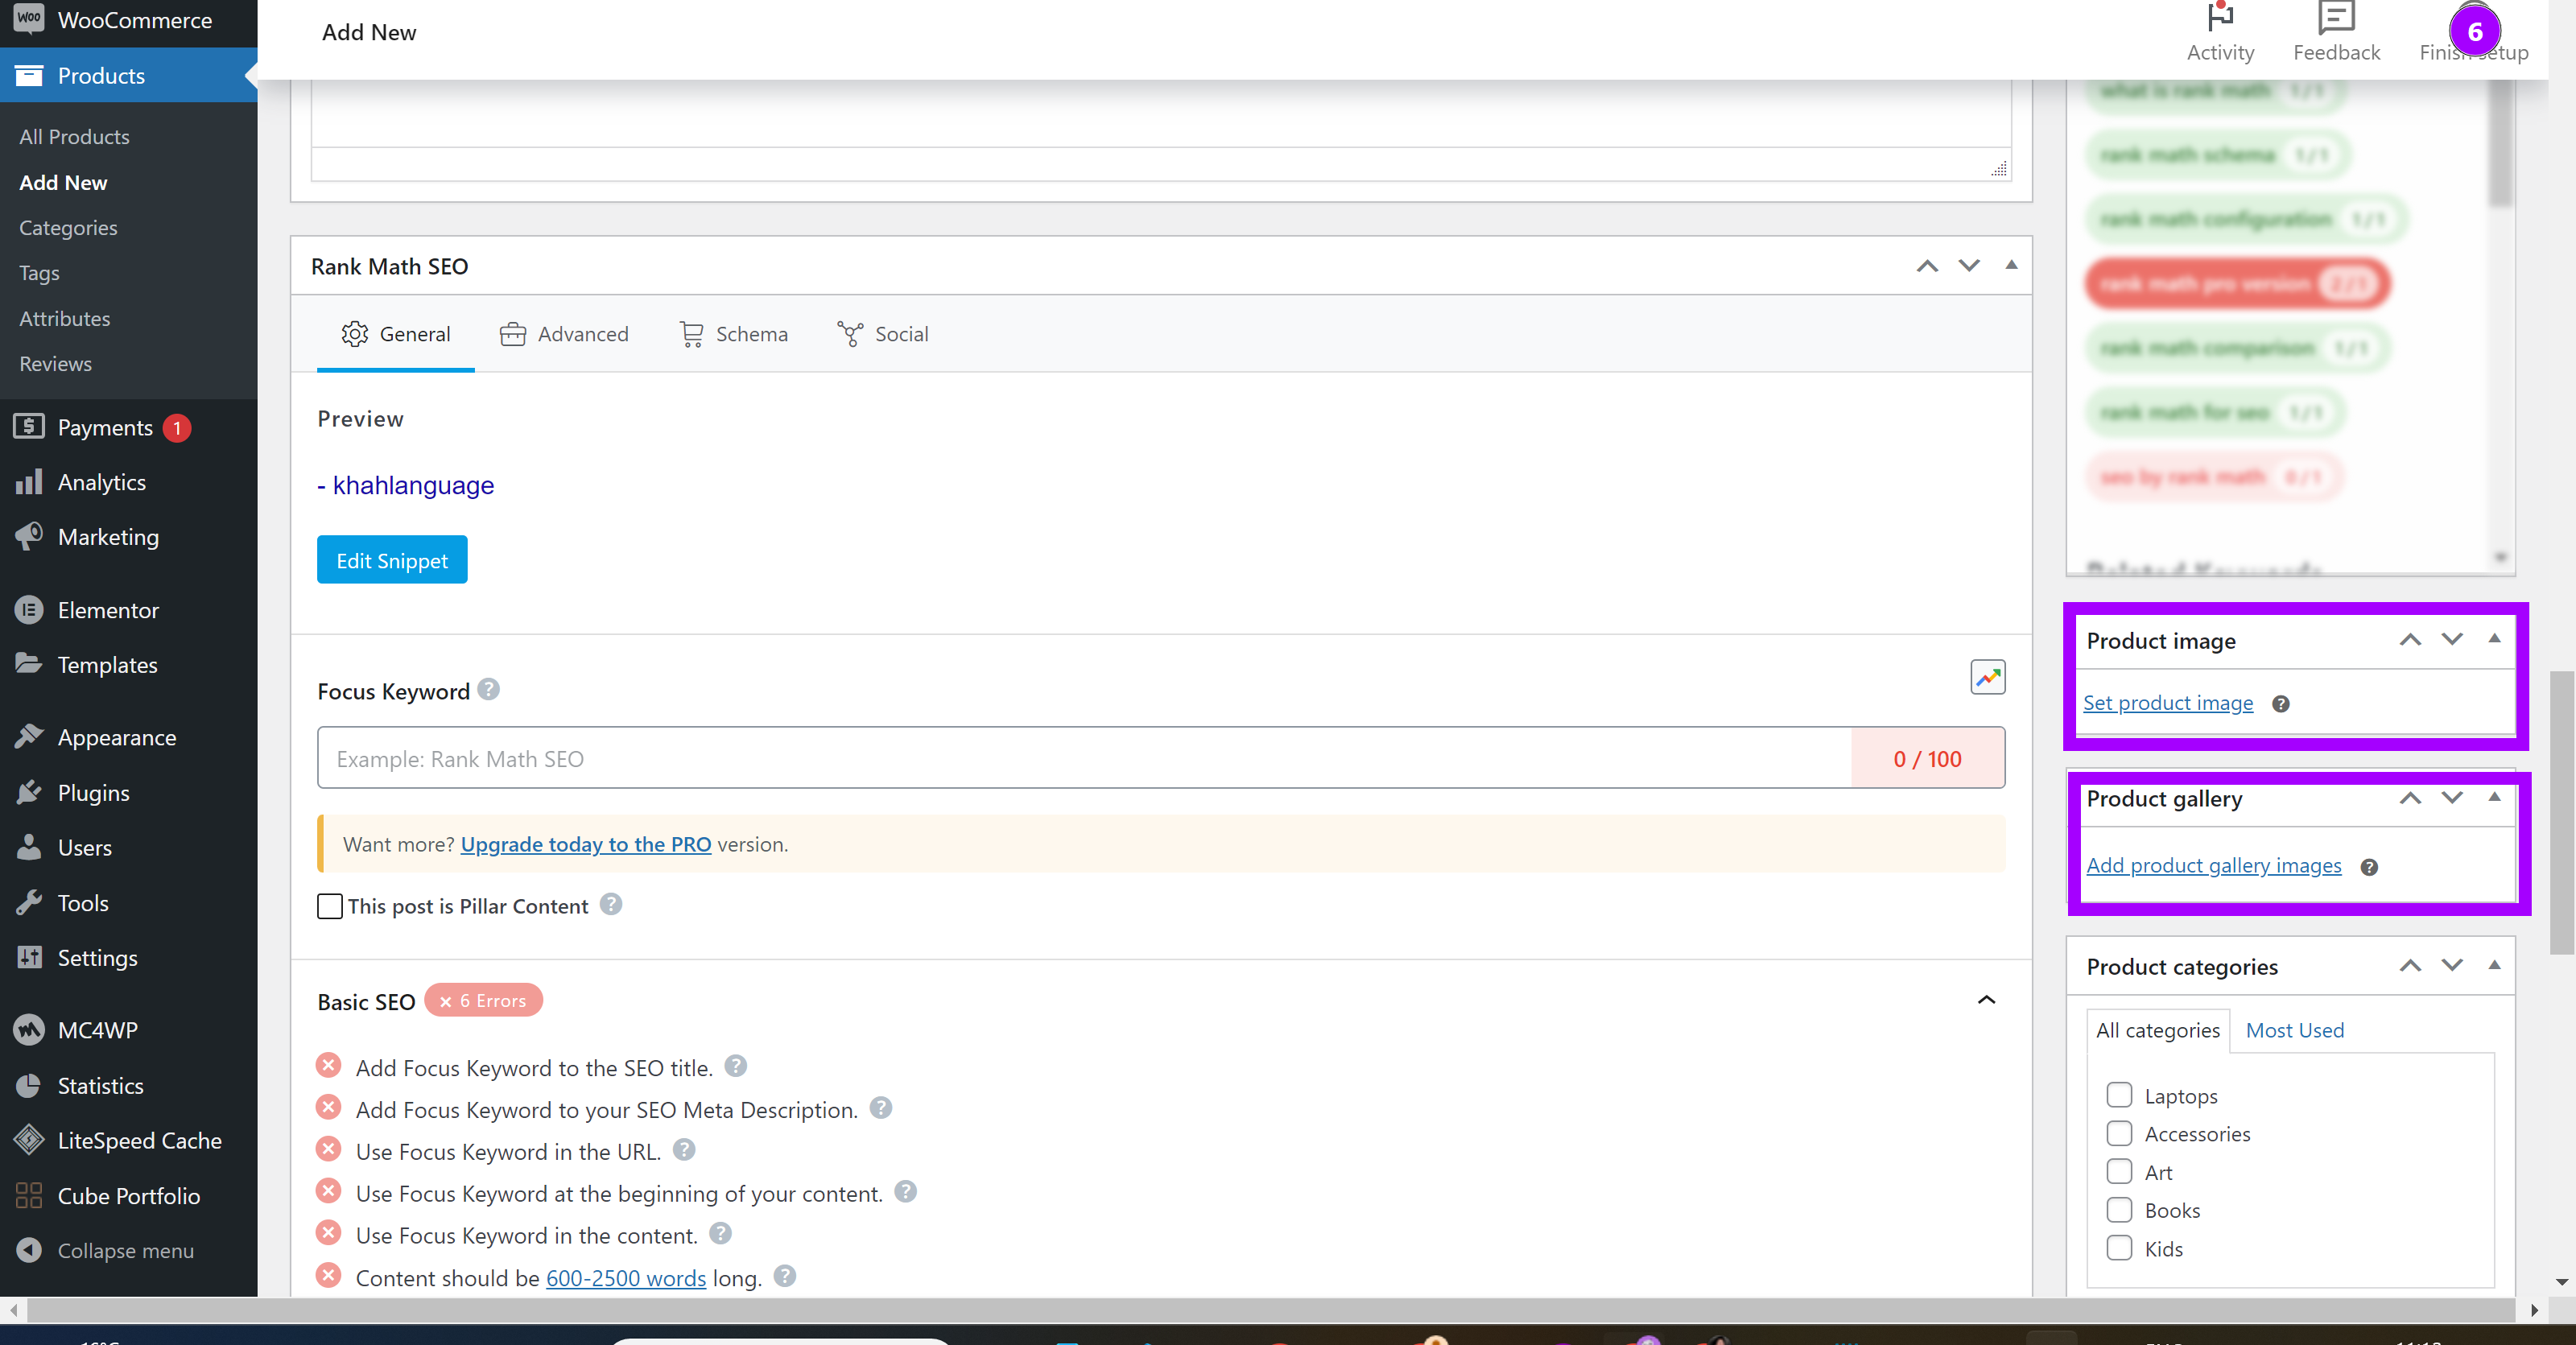
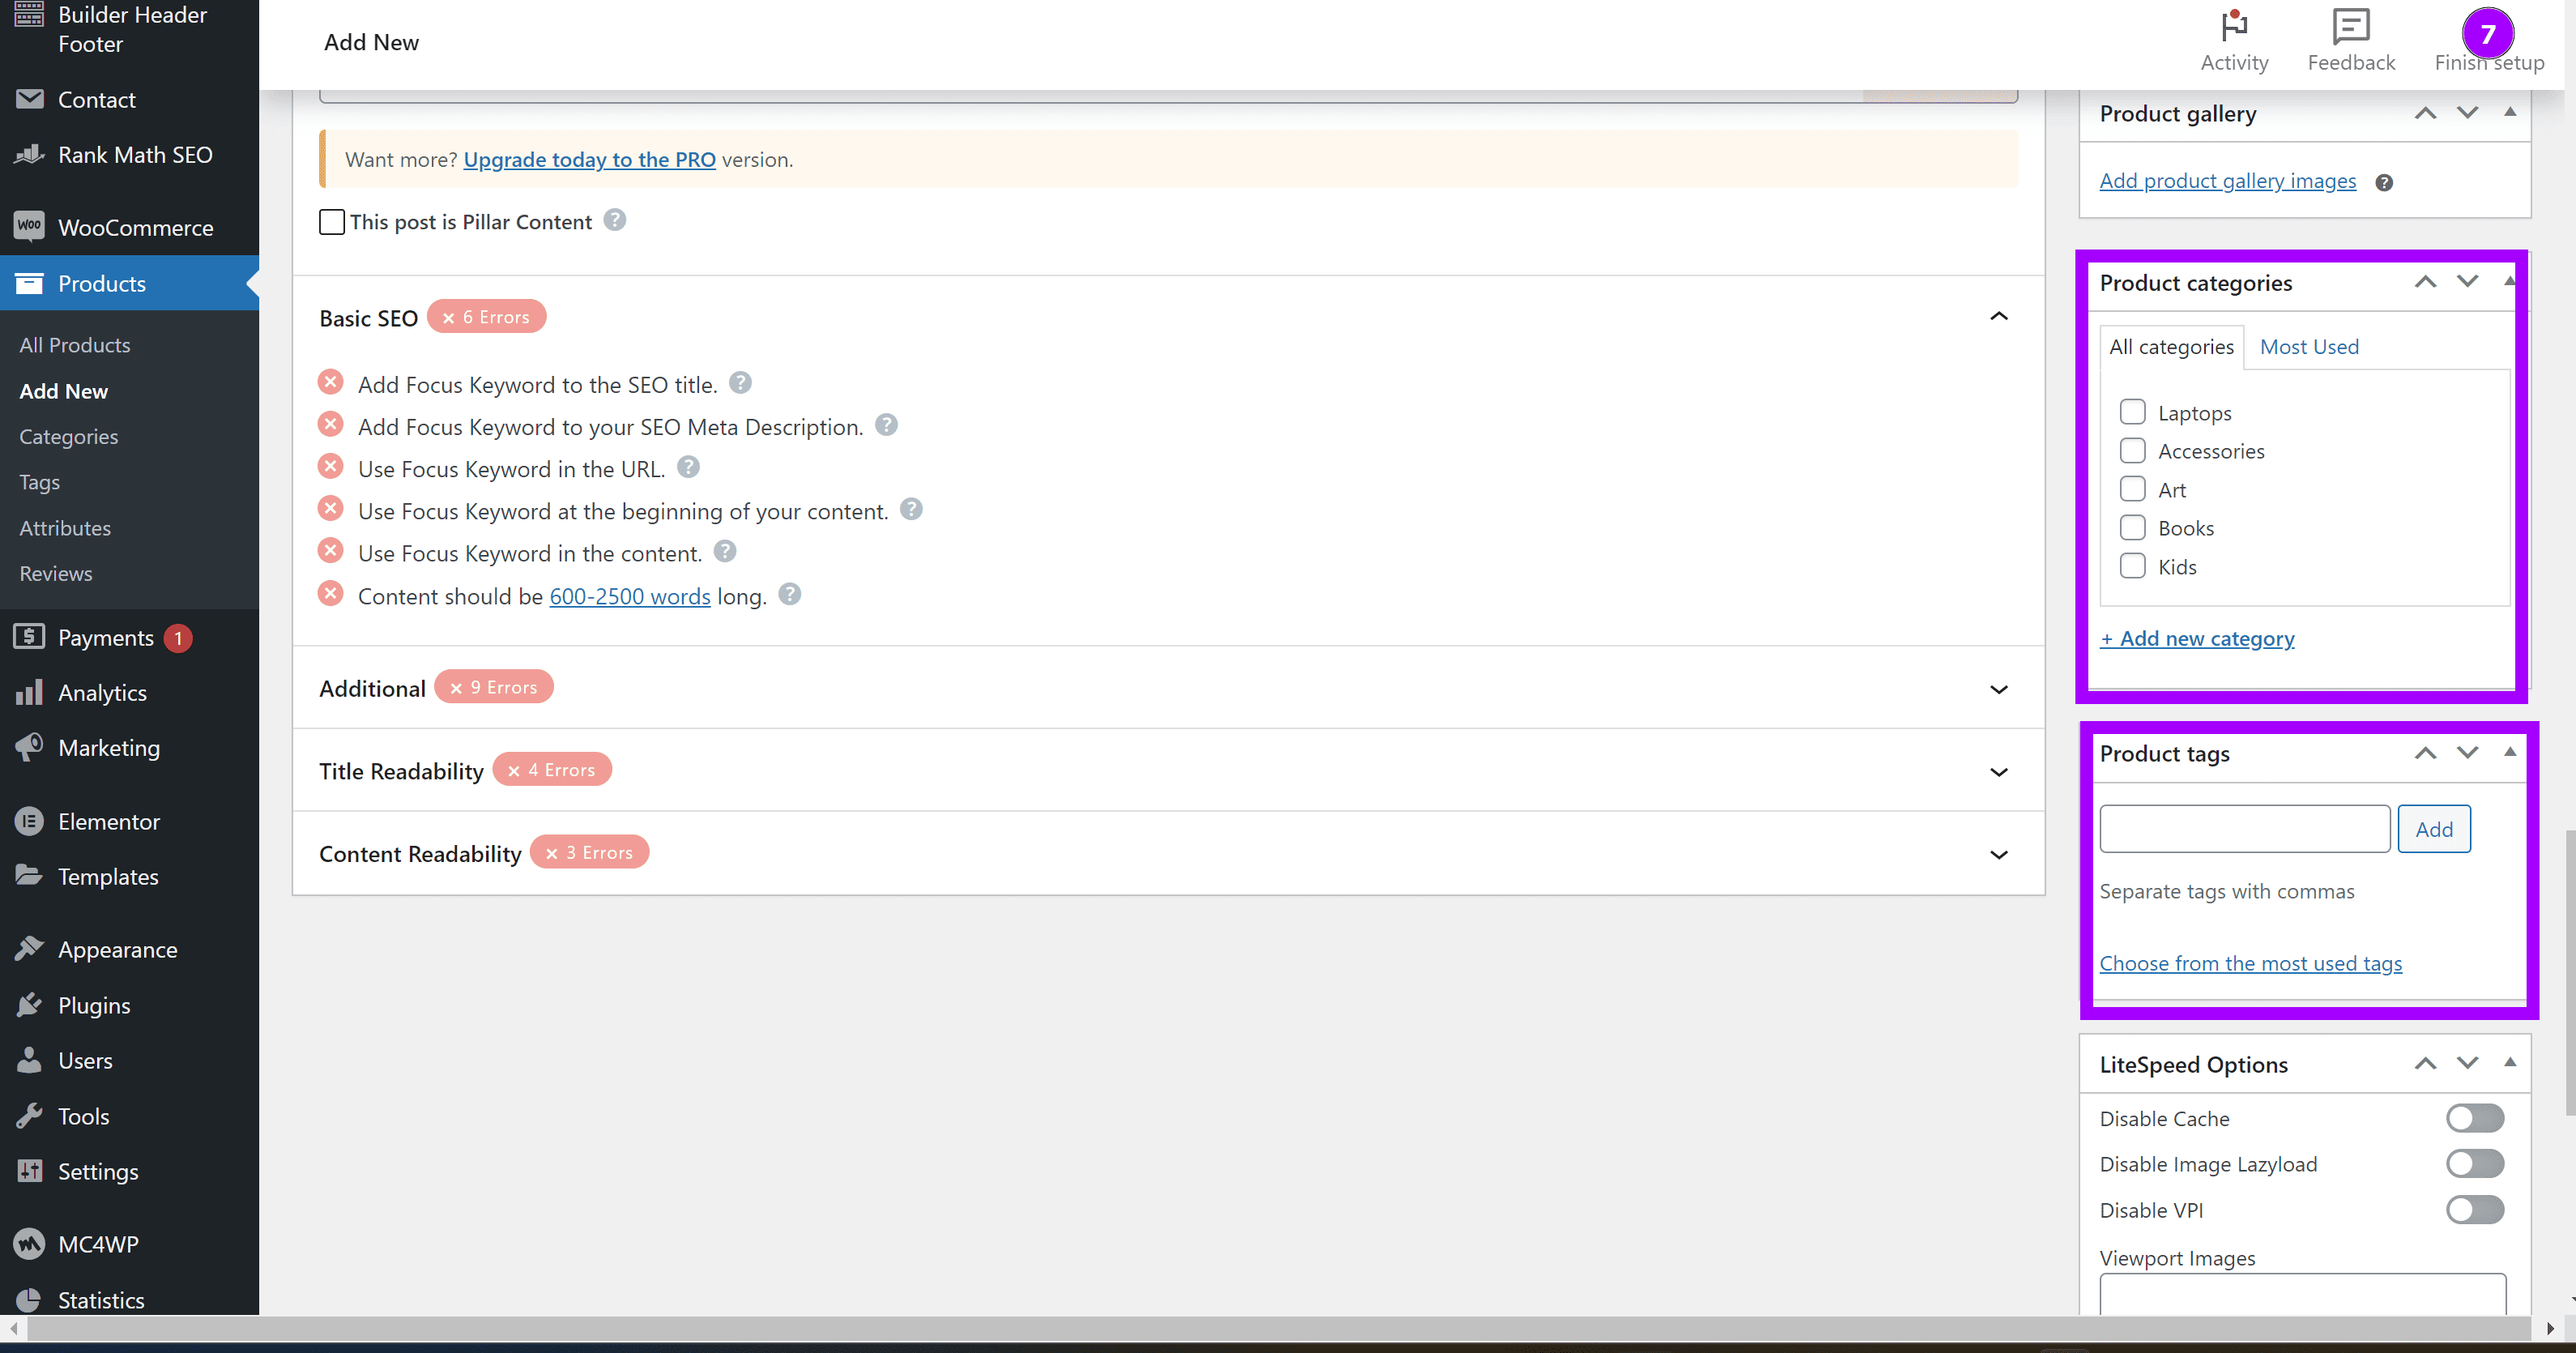
Step 7: Set Categories and Tags
Add categories and tags to help customers find your product easily. This organizes your products for better navigation.
Step 8: Publish the Product
Once you’ve filled in all the details, click Publish to make your product live on your site.
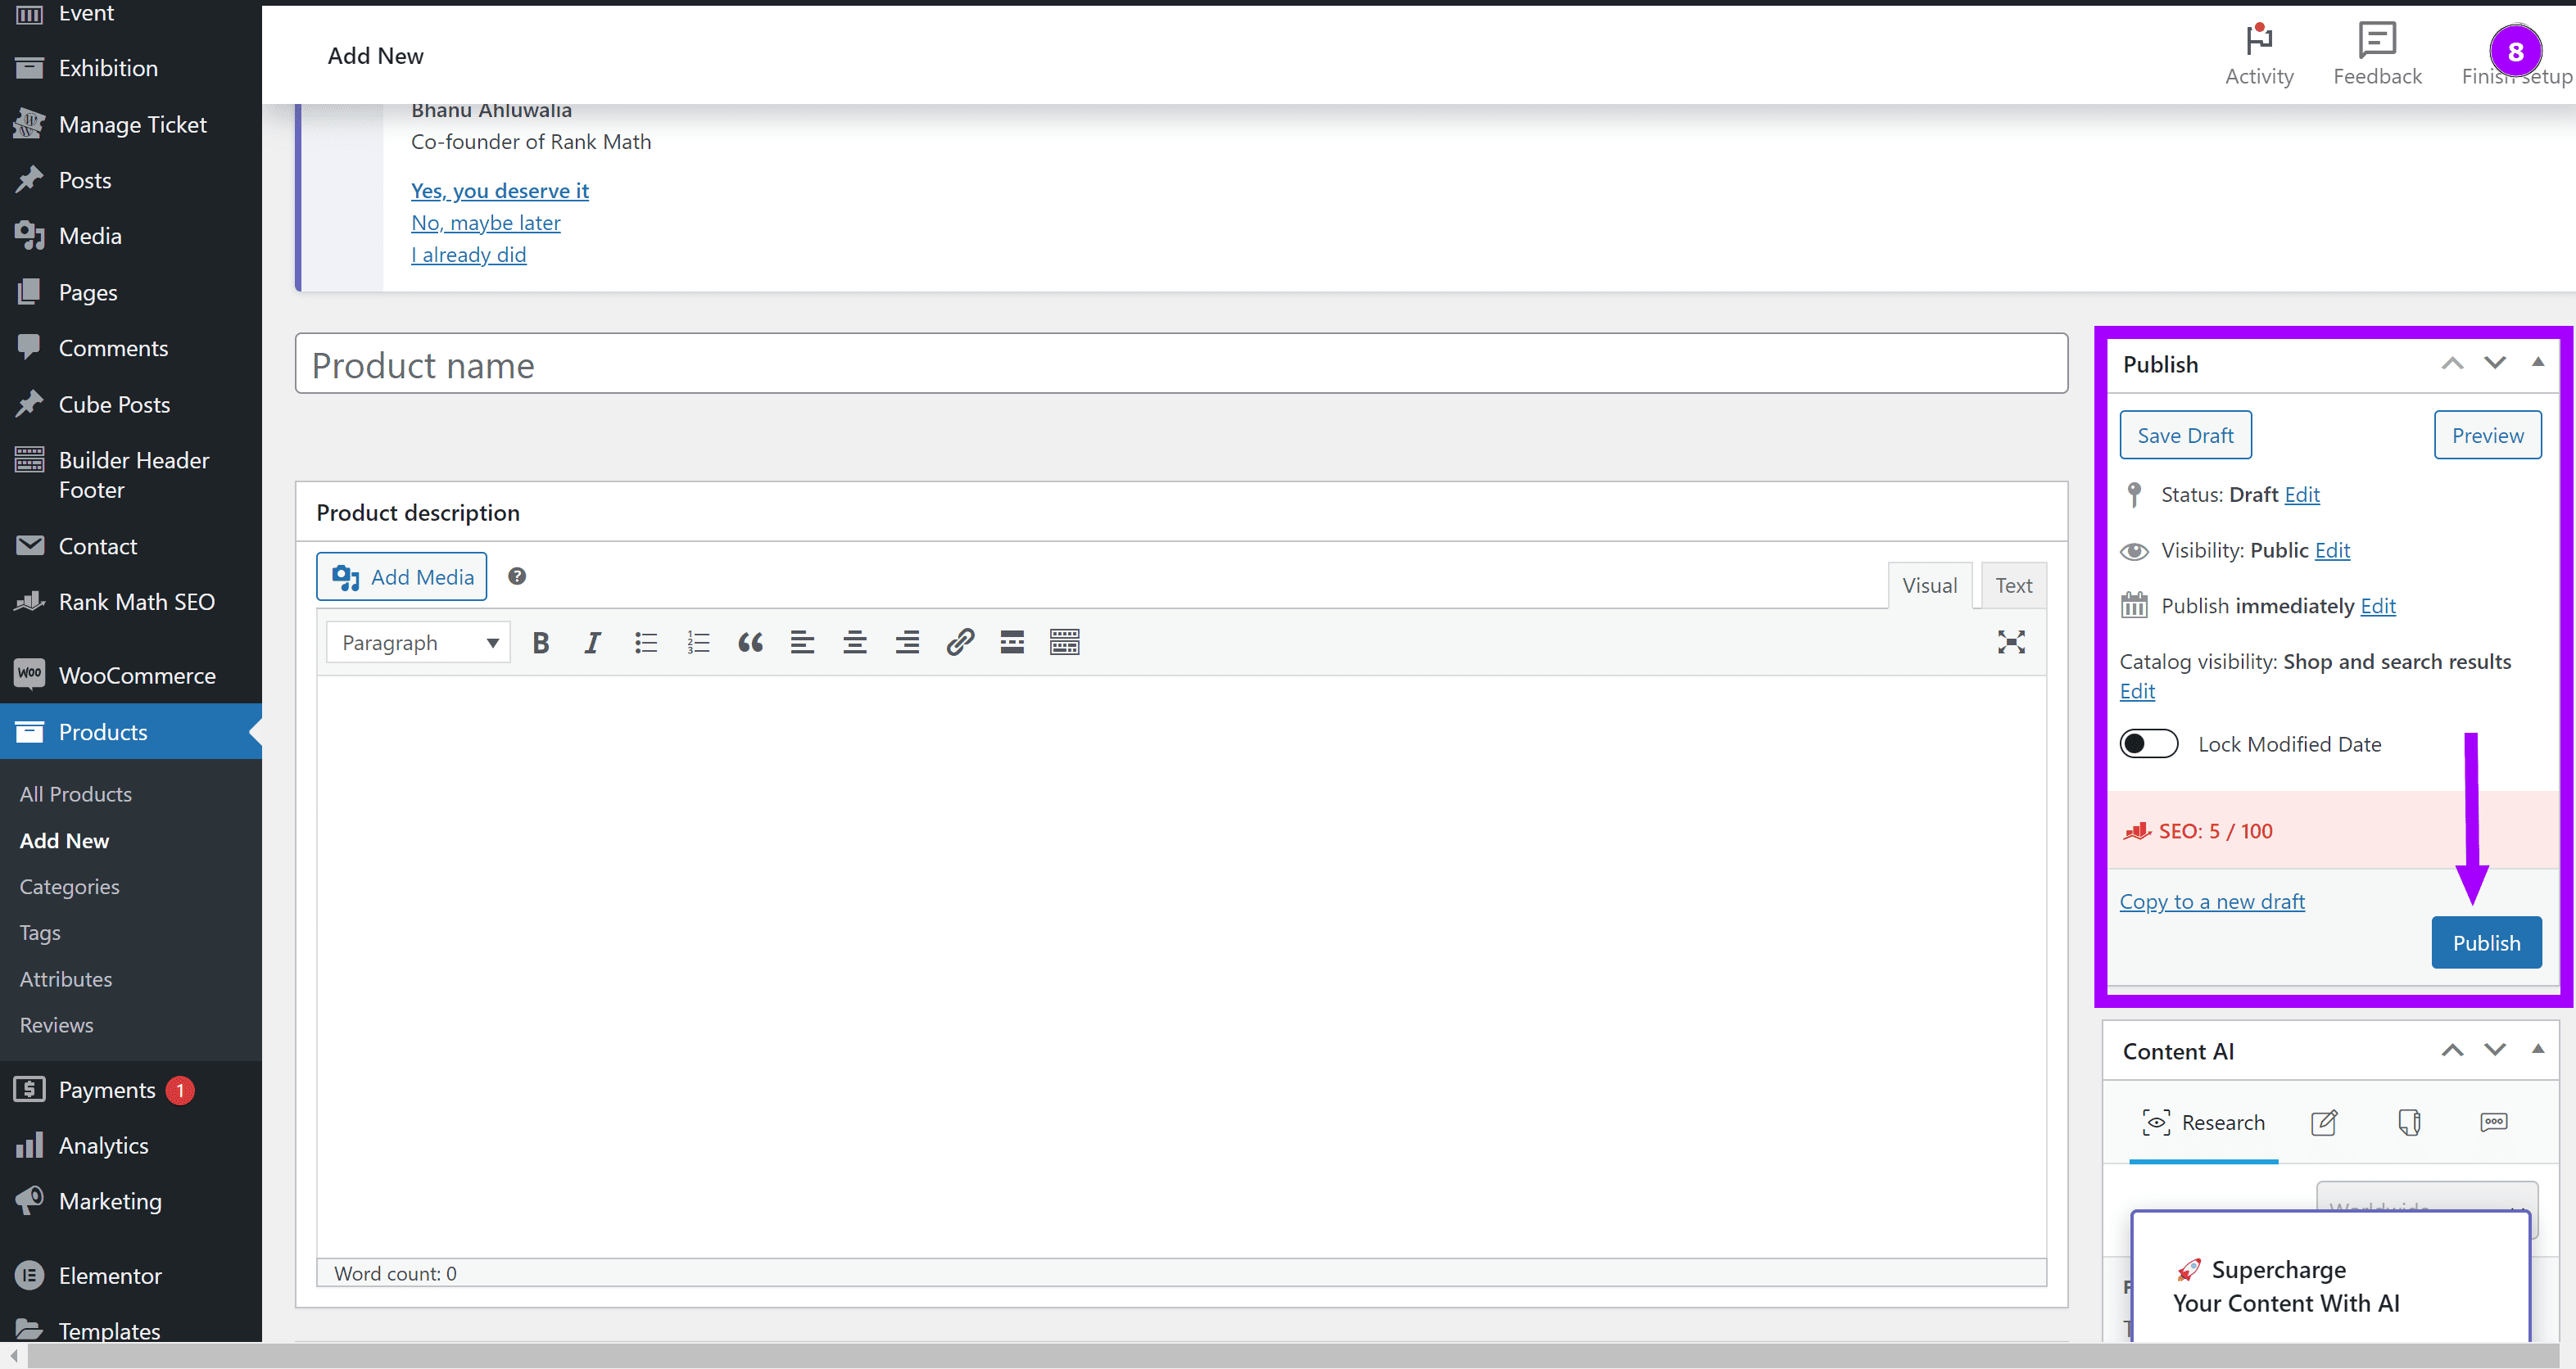
Bonus: Copy a Product
If you want to add similar products, you can easily copy an existing product. Just click Copy to a New Draft in the sidebar.
And that's it! You’re ready to add products to your WooCommerce store!
Watch Video:


